Last updated on November 30th, 2023 at 10:39 pm
*This post may contain affiliate links and we may earn a small commission if you click on them.
Do you want to projector patterns directly from Affinity Designer? Then, you need to calibrate your projector in Affinity Designer.
Every program is different and your zoom calibration doesn’t transfer over to different programs. Therefore, if you have calibrated using Adobe, you cannot use that same zoom percent for patterns in Affinity Designer.
Affinity Designer is a low-cost, one-time fee graphic design program. Affinity Designer is an alternative to Inkscape and Adobe Illustrator.
Affinity Designer is also available on iPad. Its ability to type in zoom and access layers make it a go-to app for sewists that use an iPad to project.
If you have never calibrated your projector before, make sure to check out these articles on calibrating your projector. They will review how to physically adjust and tilt the projector to create a square image. Once you have a square image you are able to find your calibration zoom.
Proceed with these instructions once your projector is square and level with your cutting surface.
Plus, don’t forget to pickup your FREE calibration reminder and quick check card! Download below! AND checkout the full video tutorial to see it in action!
Why Should I Calibrate a Projector in Affinity Designer?
Calibrating a projector in Affinity Designer is useful for a few things including digitizing paper patterns, real-size pattern alterations, and for those who don’t have access to another PDF reader.
However, if you normally projector from Adobe Acrobat Reader, you do not need to calibrate your projector in Affinity Designer.
Calibrating in Affinity Designer is great for iPad users and those wanting to take their projector skills to the next level.

Affinity Designer Master Class
Learn to master Affinity Designer with the program that Sheredith from Projector Sewing started with!
“I highly recommend this course to anyone that is new to Affinity Designer! Although it is not sewing specific, this class is invaluable to getting started.” -Sheredith
This Logos By Nick master class contains 60+ explainer videos that go over every tool and feature of Affinity Designer.
Get lifetime access for only $17!
Step 1: Open the Calibration Tool
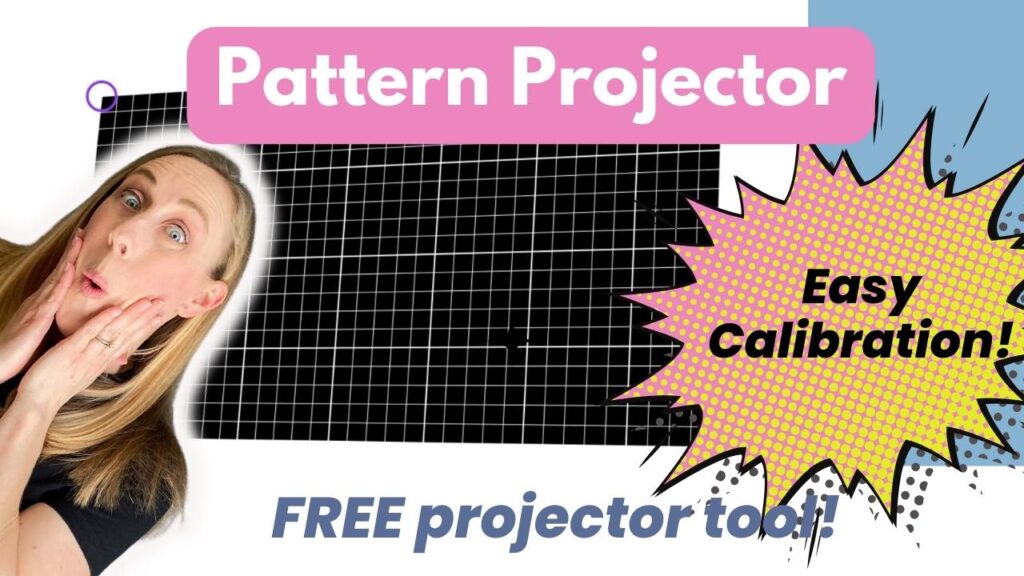
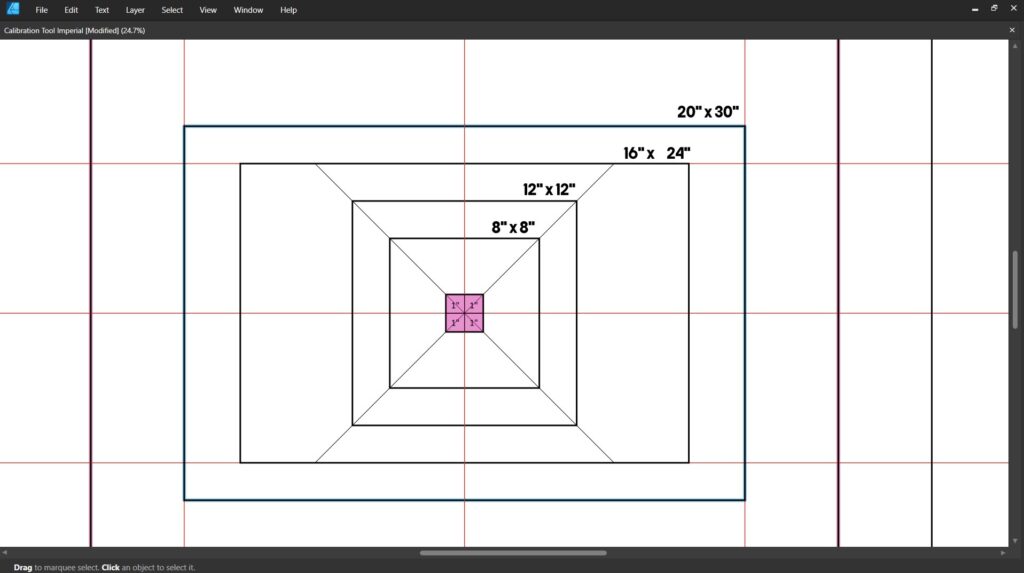
The calibration tool will ensure that your image is the actual size throughout your projection. Download this tool for free below. Save the document to your device.
Open Affinity Designer on your computer. On the startup screen choose “open”. Or go to File>Open. Locate the file on your device and click “open”.
Change your units in Affinity Designer to match the units you work in (inches or centimeters). You can do this by right-clicking the units in the top left corner of the work area, or going to File>Document Settings.
*The Inches Calibration tool was created by ProjectorSewing.com and is different than the one found in the Projectors for Sewing Facebook group. All dimensions are the same. However, this one includes layers, directions, and motivational quotes!
Step 2: Zoom
Find the zoom tool (z) on the left toolbar and select it.
Now you are ready to start finding your calibration zoom in Affinity Designer!
On the top toolbar next to where it says “zoom”, type in a percentage. Around 40% is a good place to start if you are not sure.
Keep centering your mat and image over the horizontal and vertical axis origin as shown with the red lines. Zoom and adjust, zoom and adjust. You can move the image or the mat while calibrating. I like to keep the mat centered in the projected image and the calibration tool centered on my computer screen.
Zoom in or out until the largest visible rectangle is measuring correctly. When you get very close and need to make small adjustments, you can type in the zoom box the tenth of a decimal. While it doesn’t display the decimal to the tenth place, it will zoom to that amount.
For example, if I type in 32.2% and press enter the calibration tool will zoom, but the visible zoom number will read 32%.
Keep zooming until all the boxes are measuring correctly. Remember to focus on the largest boxes first. The smaller boxes will align when the largest boxes are correct.
Here are a few zoom shortcuts:
*Mac computers will use the Command key instead of the Control key in these shortcuts.
Zoom in: Ctrl + (plus)
Zoom out: Ctrl + (minus)
Zoom to selection: Select the object then press Ctrl+ Alt+ 0
Zoom in and out: Ctrl + mouse wheel
Zoom to fit: Ctrl+0
Zoom to 100%: Ctrl +1
Step 3: Save and Record Affinity Designer Calibration Zoom
Now that you’ve gone through the hard work of calibrating your device and projector using Affinity Designer, don’t lose your calibration zoom!
Record your calibration zoom by writing it down in two places! I like to have it written on a note right by my cutting table!
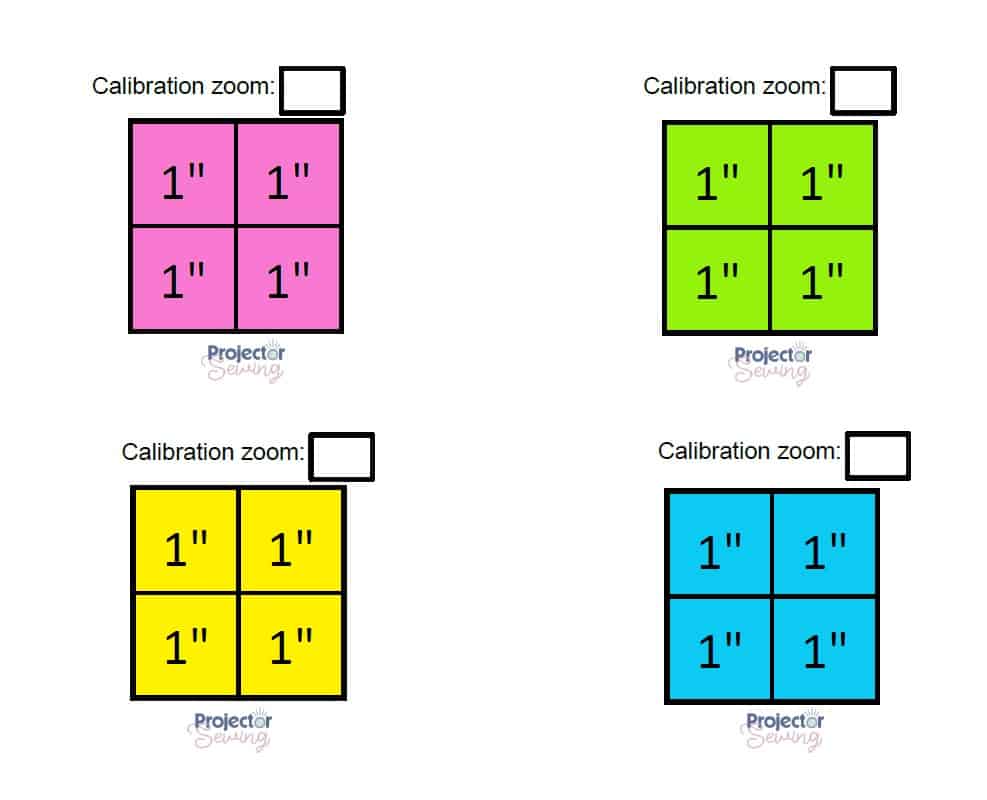
Download this really awesome calibration reminder and quick check card. Print onto cardstock and have it nearby for quick checking your calibration when you open any pattern!
Step 4 (optional): Save Calibration View
The next step is optional, but is a great way to jump back to your calibration zoom if you need to zoom in or one while working.
Head over to the Navigator panel in the right studio.
Type in your calibration zoom percent. Center the gray rectangle over the pattern piece you are working on.
Click on the three lines at the top right corner of the Navigator panel. Choose “save current viewpoint”.
Once you have save the viewpoint, you can then rename it. Click on the three lines again and choose “rename selected viewpoint”.
You can name it anything you want, such at calibration zoom. You can even create “viewpoints” for different parts of the pattern!
This would be fun to click on a view point and cut out the bodice pattern piece, then have another viewpoint for the sleeves!
Step 5: Enlarge the Viewing Area, Remove Distractions on Screen
One advantage of Adobe Reader is the one-click full screen viewing mode. You don’t get quite a full screen in Affinity Designer, but close. You also don’t have the shortcuts for typing in a zoom percent, however, it’s still a great option to have!
When you are working on a pattern with your projection in Affinity Designer, you’ll want to maximize your viewing space.
To quickly jump to full screen view, press the “TAB” button located on your keyboard above the Caps Lock key. Click Tab again to exit full screen. If your rulers are turned on, they will still show in full screen. You can turn those off by going to View>Show Rulers or pressing CTRL (Cmd) + R.
To access tools in full screen mode, you will need to learn their keyboard shortcuts,
If you only want to remove certain elements, these are the ways that you can clear the clutter.
Hide/unhide the Right studios: Shift + H
Hide/unhide top toolbar: Ctrl +Alt+T
Show Rulers: Ctrl + R
Dock tools: Tools can be floating or pinned to the side toolbar. Go to View>Dock tools
Show tools: You can also make the tools disappear completely from the screen. View>Show tools
To maximize your viewing area when cutting or tracing a pattern in Affinity Designer, turn off tools, rulers, and the right studio.
This will get you pretty close to full screen!
Conclusion
Now you have found your calibration zoom in Affinity Designer and maximized your viewing area! Affinity Designer can be used to project patterns, unfold, grade, add seam allowance, length, shorten, maximize fabric usage, and digitize paper patterns.
If you found this tutorial helpful, please share and like. If you enjoyed the accompanying video, please like and subscribe!
Thank you!
