*This post may contain affiliate links and we may earn a small commission if you click on them.
Are you ready to ditch paper patterns and start projecting patterns? Then this pattern projector tool is your key to quick and easy success!
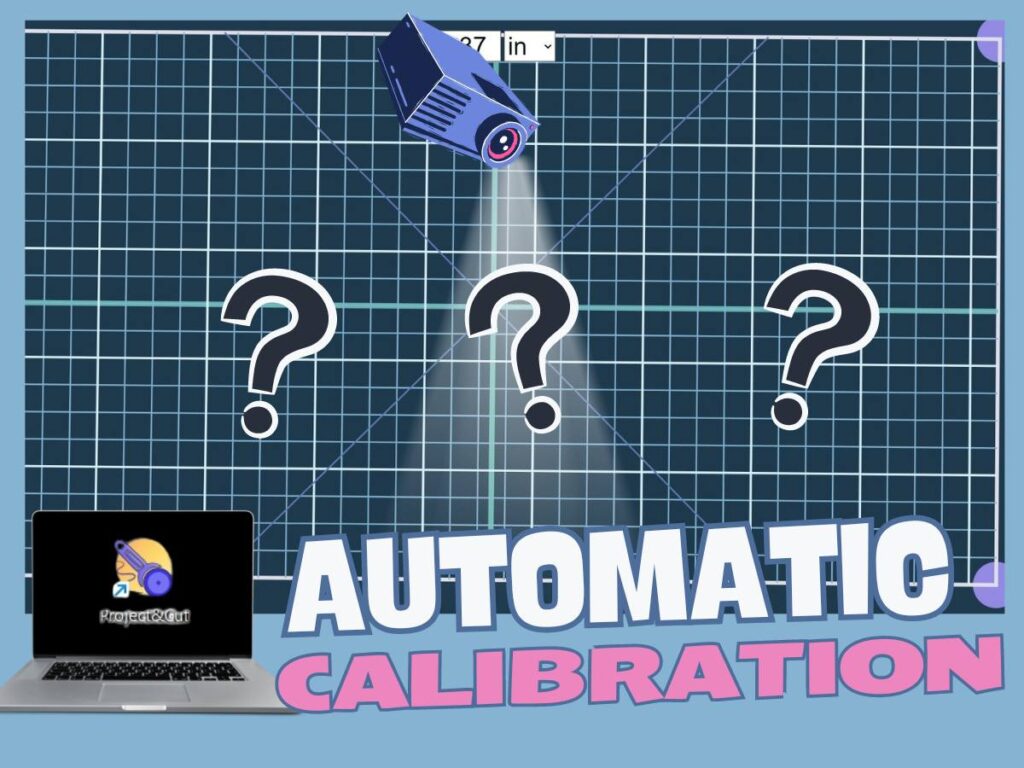
PatternProjector.com is a free, open-source web app that helps you to calibrate a pattern to your projector and start projecting patterns.
There is no need to physically adjust and tilt your projector to calibrate. Once your projector is mounted and shining on your cutting mat, you are ready to use Pattern Projector.
If you don’t have a projector and mount picked out yet, I highly recommend my Complete Projector Confidence Course, but you can also see reviews and recommendations here on my website!
In this tutorial, I will go over how to calibrate and use this tool! I’ve also included a video tour that follows the written steps for those who are more visual learners.
If you just need a tip on one step, feel free to jump to that section!
How to Calibrate a Projector for Sewing in Pattern Projector
Step 1: Visit PatternProjector.com on any device
Pattern Projector works on any device that can access the web. I find phone screens a bit small, but if that is all you have, you can use it!
*Your projector should already be “mounted” and shining on your mat. It’s best that you have it straightened out by eye, but don’t worry about getting it perfectly square to your mat. Pattern Projector will take care of that!
Step 2: Click “Start Calibrating”

On the top right-hand corner of the home page, you will find a button that says “start calibrating”. Click this button and you will be directed to the calibration page.
Step 3: Choose a Calibration Rectangle Size
Do NOT start by typing number measurements! I find it easier to place the corners of the calibration grid on your projected image first!
Choose a rectangle area that is within your projected image size and slightly smaller. This step is easier if you have a cutting mat that has measured grid lines on it. However, you can also use a measuring tape.
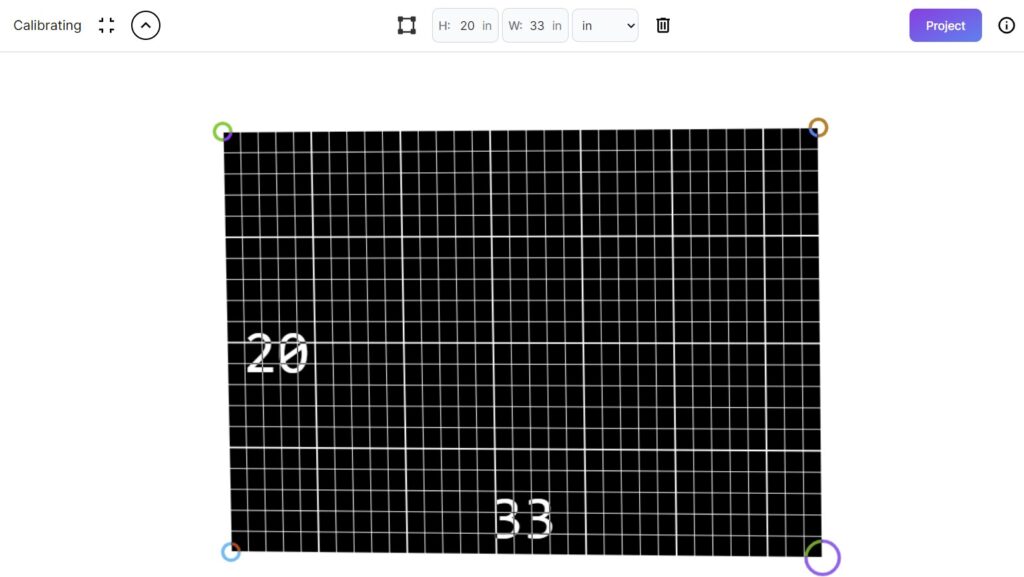
Create a perfect rectangle on your cutting mat. Don’t worry that the “calibration rectangle” is smaller than your projected image. The entire area will be calibrated and can be used to cut patterns.
Step 4: Measure the Rectangle
Now, using the grids on your cutting mat or a measuring tape, measure the rectangle. The height (H) refers to the vertical lines, and the width (W) is the horizontal lines.
Type the height and width for the rectangle you made in step 3.
Make sure to change your units as needed (CM or IN).
*If you make a mistake in step 3 or 4, press the trash can to reset your calibration!
Step 5: Refine
Now, go back and examine your calibration rectangle. Make sure your corners are square and all sides are straight.
If you are working on a computer, I find having a partner may help. Use the arrow keys to make fine-tune adjustments.
*Don’t be a perfectionist. Done is better than to be perfect. Your patterns will come out right! This step shouldn’t take more than a minute or two at most!
Enter “Full Screen” mode by selecting the button next to the word “calibrating”.
A drown arrow will appear and everything else will be enlarged to fit your screen.
To exit full screen, click the down arrow to bring back the top menu.
Click the button next to “calibrating” to exit full-screen mode or press the ESC key on your keyboard.
Now you are ready to project a pattern!
How to Project Patterns in Pattern Projector
Step 1: Click “Project”
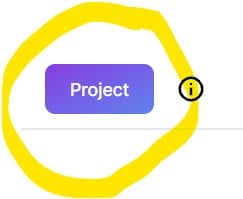
Once you have finished calibration, you can now click on the “project” button. You can also open a new tab and still be calibrated!
*This means you can open several patterns at once in different browser tabs!
Once you click on project a new screen will open.
Step 2: Open PDF
Click on the “open PDF button”. Once this button is clicked, it will open a finder window on your computer.
Browse your computer to where you save your sewing patterns. Choose the one you wish to project.
Step 3: Select Layers


If the pattern you opened has layers, the layers will automatically open on the left side of the screen.
You can exit the layers menu anytime by clicking the X. You can return to the layers panel by clicking the stacked papers outline on the lefthand side of the screen.
Select the layers you need to cut out the pattern.
Many projector file patterns include a calibration grid if you would like to use that layer to double-check the calibration of the pattern and projector.
Step 4: Menu Options
The top menu in Pattern Projector has great functions for when you are projecting sewing patterns. Let’s review what it can do here.
Line Thickness: The first icon will increase the pattern line thickness. If you are having a hard time seeing pattern lines, consider clicking on this icon to increase the pattern line weight.
Grid: Want to check your calibration? Turn on and off a grid for a quick calibration check.
Invert colors: The next icon is a way to increase the legibility of your pattern on certain fabrics. There is currently a cycle of 3 options for color variations. The default black on white, inverted white on black, or the inverted green on black. Some of these color variations may differ based on the original pattern color lines.
Flip Horizontal/Vertically: Sometimes files that were not made for projector sewing do not have mirrored or unfolded pattern pieces. You can flip the pattern horizontally or vertically to mirror or “unfold” the pattern piece.
Rotate: The rotate icon will rotate the entire PDF clockwise in 90-degree increments, helping you to position pattern pieces on your cutting mat.
Measure (New): This icon was not developed before the making of the video. But the measure tool allows you to measure a straight line. You can check pattern pieces or even check your calibration with the measuring tool.
Open PDF: Open the finder window on your computer. Select a PDF to open and project.
Calibrate: Return to the calibration page.
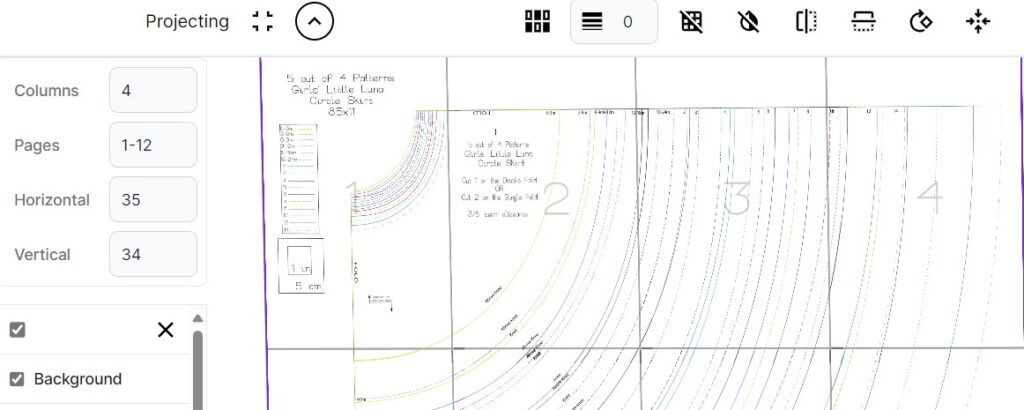
Sitch Multi-page Patterns: If you open a pattern that has multiple pages the “stitch” menu will appear. Click on it to enter how many columns across the page. Enter the page numbers for the number of pages with pattern pieces on them (don’t include instruction pages). Horizontal and Vertical boxes can be used to adjust the trim/overlap of the patterns. Click on the arrows until the pattern lines perfectly match up.
Conclusion
Pattern Projector is an amazing tool that makes projector sewing easier for the less tech-savvy people out there. It is also the perfect solution to those who do not have a permanent projector sewing setup. Now recalibration is faster than ever!
Since this is a free tool to use, I hope you give it a try. Leave a comment below and let me know what you think!


