Last updated on February 21st, 2024 at 03:03 pm
*This post may contain affiliate links and we may earn a small commission if you click on them.
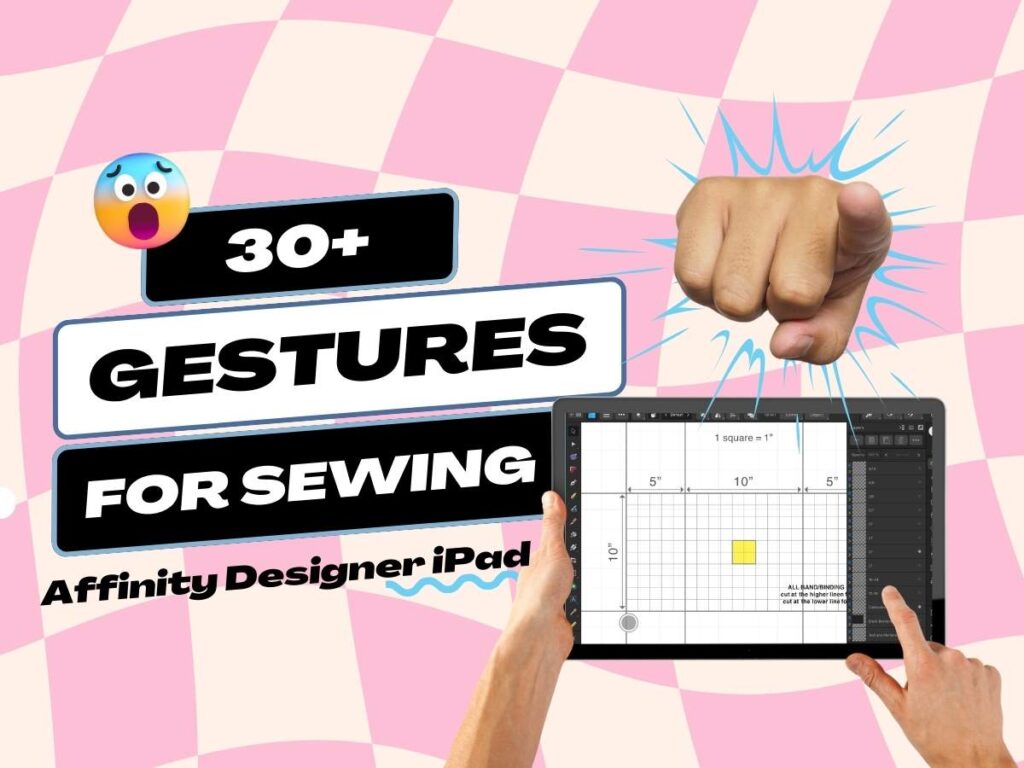
The iPad is a great option for those wanting to make pattern alterations on the go or those wanting to project patterns from a tablet device! Learn how to use Affinity Designer iPad for sewing!
Affinity Designer is a growing choice of sewists using projectors for sewing and even altering and designing patterns!
The Affinity Designer iPad app is available from the app store for a low one-time fee. The iPad version is a fully functioning version of the desktop version. There is also a free full-version trial with no credit card required.
If you want to use your iPad and Affinity Designer for sewing with a projector, I highly recommend checking out this tutorial on Getting Started with Affinity Designer iPad. There are some important settings to ensure the projector mirrors the iPad screen.
The following video tutorial will walk you through the user interface and tools that are useful for sewing purposes.
Give it a look and thumbs up! Let me know if you have any questions.
User Interface
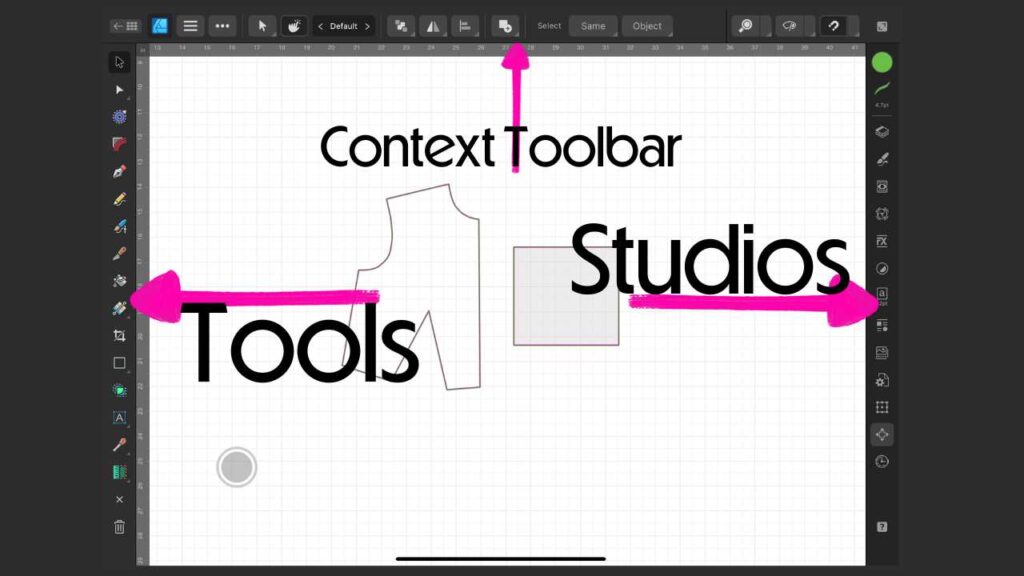
The user interface is what you see when you have a document open. This consists of the Tools, Context Toolbars, and Studio.
The tools are shown on the left of the screen. Which tools are displayed and the order they are in can be modified for personal preference.
When a tool is selected, you will see a corresponding context toolbar on the top of your screen.
On the right-hand side you will find the studios.
Toggle Command and Gestures
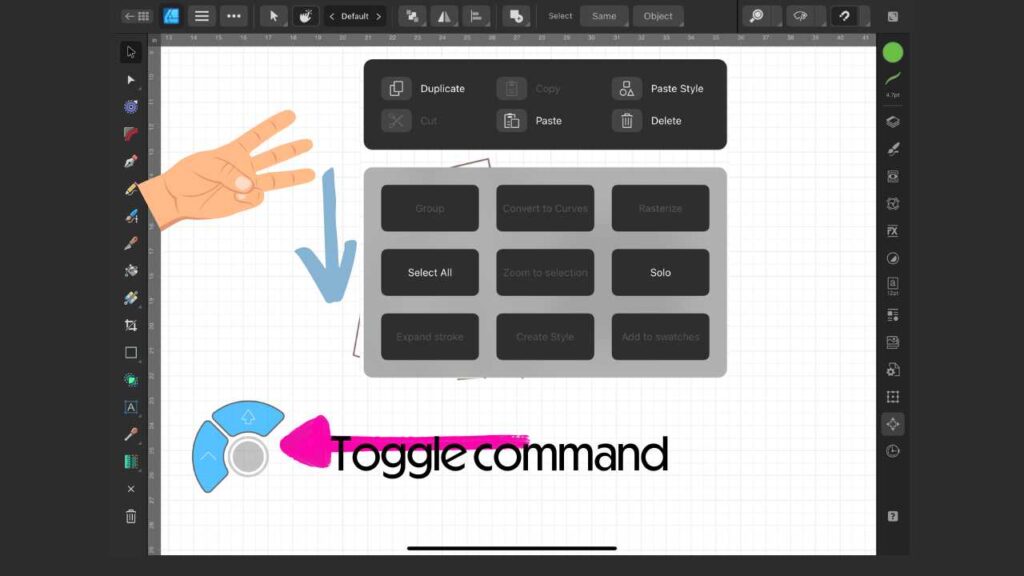
If you have followed along with tutorials for the desktop version of Affinity Designer, you may be wondering how to access modifier keys such as shift and control. The iPad solution for that is the “Toggle Command Control“!
This function can be turned on or off using the menu accessed in the top of the screen with three horizontal lines.
Press and hold the toggle command to move it to any location on your screen. Tap it once to see all of the button options.
The most commonly used modifier keys for sewing are the top, “shift”, and the left, “Control“, buttons.
The shift modifier will constrain resizing to the aspect ratio and straight lines.
The control button is often used to draw or cut a straight line at any angle.
Finger gestures are also used instead of keyboard shortcuts. Two fingers double tapped will undo, three finger double tap to redo.
Use three fingers to swipe down for a quick access menu.
Studios
The studios that you will most often use in sewing are the color, line, layers, transform, and navigator studios. The color and line studios are self-explanatory in changing the colors and appearance of the lines and shapes.
We recommend using a line thickness between 4pt-6pt for projector sewing in a dark, solid line.
The layers panel will access all of the size layers and show any nested layers in a pattern. This is where you can turn on or off sizes for a layered pattern file. If a pattern doesn’t have size layers, you will only see one layer with objects under it.
The transform studio is where you can easily make precise movements and adjustments to a pattern piece. Check out this tutorial on lengthening and shortening pattern pieces for one application!
The navigator panel is a very important studio for sewing with a projector on an iPad. This is where you will set your zoom. The navigator panel is also the best place to navigate around the pattern using the gray box. This will prevent accidental rescaling and moving of pattern pieces while projecting. The rotation circle is also the best place to rotate the pattern in the view window for cutting.
Tools
There are many tool options geared towards art and graphic design. However, let’s focus on the tools that will be used the most for sewing.
Move Tool: The move tool is just that! It always you to move objects, rotate, flip, and select. In the context toolbar, you can also choose “enable transform origin”. This will give you a pivot or point to rotate the pattern piece around.
Pen Tool: The pen tool, not the pencil tool, is what you will use to draw lines or trace pattern pieces. Just start tapping to start drawing a line. Double tap to finish a line, drag to create a curve, or finish a shape by tapping on your starting point. Hold two fingers down on the screen to quickly switch to the node tool temporarily!
Node Tool: The node tool is your best friend when it comes to modifying pattern pieces! You can click anywhere on the line and move the pattern line where you need. There are three types of nodes available: sharp, smooth, and smart.
Sharp nodes are for corners with straight lines coming off the ends. Smoooth nodes are for creating smooth curves. The smart nodes will determine if a sharp or smooth node is needed at a given point. The best way to learn about the node tool is to try it out!
Knife Tool: The knife tool is a nifty little tool for cutting pattern pieces. Similar to how you might use scissors on a pattern piece, you can use the knife tool. While freehand might work for some, I prefer to use the toggle modifier “control” to cut a straight line between two points at any angle. Give it a try!
Measure Tool: There are actually two tools in the measure tool. The ruler tool allows you to measure in a straight line between two points. The area tool is the magic tool that can be used to measure curves. To measure curves you need to break the nodes at the start and finish of the curved line. Next, select the broken curve and go to the area tool. You should now see the length of the curved line.
*Contour Tool: I don’t go over the contour tool in this tutorial, but it is used for one important thing: adding and subtracting seam allowance! See this tutorial all about adding and subtracting seam allowance!
Conclusion
Now you know a few tricks and things to get you started using Affinity Designer iPad for sewing and pattern alterations! With this knowledge up your sleeve, you are ready to tackle many other tutorials whether they are for the iPad or desktop versions of Affinity Designer!
Make sure to checkout all of the tutorials we have available on the Tutorials page!
Happy Sewing!


