Last updated on July 17th, 2023 at 09:47 am
*This post may contain affiliate links and we may earn a small commission if you click on them.
Are you new to sewing with projectors? Adobe is one of the best ways to view and project patterns for cutting. A few tips on how to view patterns in Adobe will take you from feeling like a novice to a pro in no time!
Tip 1 Setup Full Screen in Adobe
When using a projector to cut patterns, you will want to take advantage of “Full Screen” mode in Adobe. However, if you have tried this and your zoom percentage was changed, you may have wondered how this is possible?!
To setup full screen mode in Adobe to cut patterns, you need to adjust some settings. Access the “Preferences” in the Adobe Menu (CTRL + K is the shortcut key!). Then click on “Full Screen”. Uncheck the box that says “Fill screen with one page at a time”.
Tip 2 Use Shortcut Keys
To toggle between full screen mode, click CTR+L (Windows) / Cmmd+L (Mac). If you adjusted the settings in tip 1, then the zoom will not change. Full screen mode allows you the entire projection area to work with. You can check the zoom and adjust it anytime in Full Screen mode by pressing Control Y (Windows)/ Command Y (Mac). Download this cheat sheet for other shortcuts.
Tip 3 Use Layers
Check your pattern for layers in Adobe. Most pattern companies have layers turned on for A0 and Projector patterns.
“Old” Adobe layout: You may need to click the arrow on the left of the screen to see the side menu. Click on the layers button. In the layers menu, select your size, grid, and the “Keep selected” boxes. This will remove any unnecessary lines while you are printing and make it easier to see. In the example, I have selected the Medium.
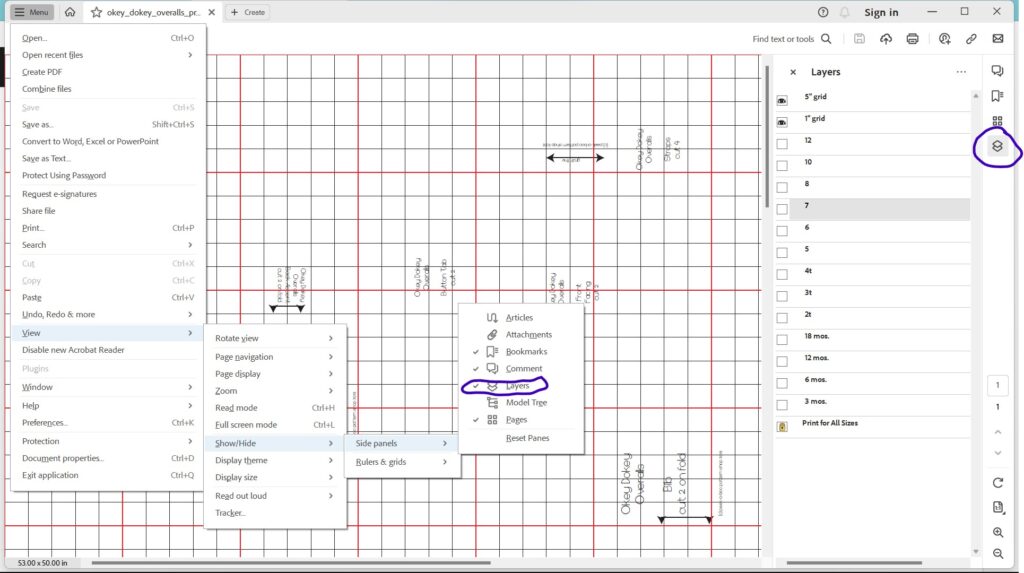
The “New” Adobe layout has the layers panel in a new location. The layers panel can be accessed on the right-hand side of the screen and looks like a stack of papers. Click on it to access the layers you need.
If you do not see the stack of papers on the right side of the screen go to the “hamburger” menu> View>Show/Hide>Side Panels. Then, make sure there is a checkmark by Layers.
Tip 4 Invert Colors in Adobe
Sometimes the lines on projected patterns are still too hard to see depending on the light in the room and/or the pattern on the fabric. To help make the lines more visible, try inverting the colors.
Some of the popular choices are white on black background and green on a black background. Play around and see which one you like best!
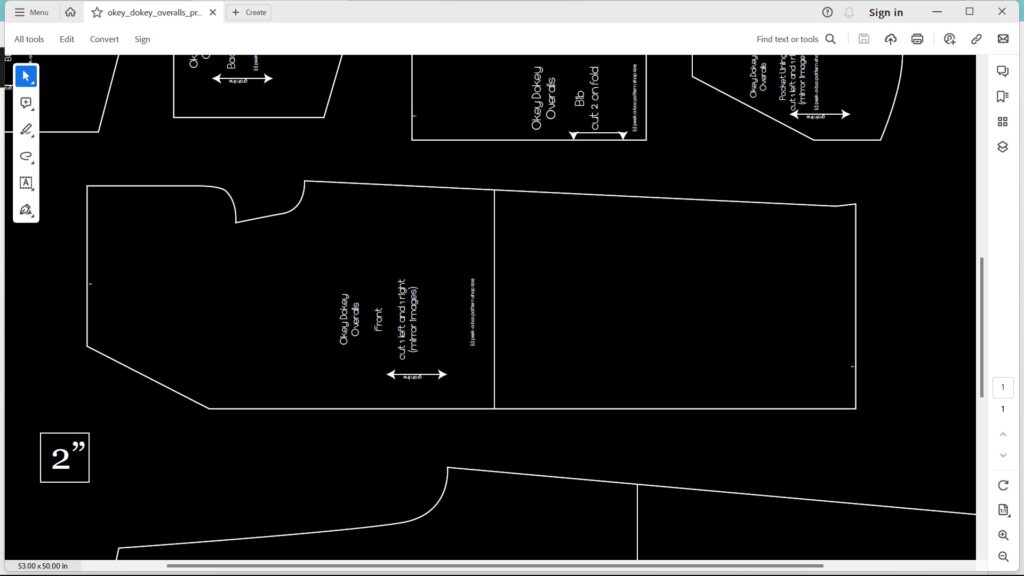
This can be done through the “Preferences” menu in Adobe. In the preference menu click on “Accessibility”, then use the drop down menu next to “High-contrast color combination” and select one of the colors to switch to (white, green, pink). Make sure “Change lines as well as text” is ON and “Only change the color of black text or line art” is turned OFF.
Tip 5 Use Rotation
Sometimes a pattern piece is not facing a direction that makes it easy to cut.
How to Rotate in “Old” Adobe
You can rotate the image in Adobe by clicking “View” > “Rotate view”. This will rotate the view 90 degrees to 180 degrees. The shortcut for rotating is Control, Shift, +. Rotate the opposite direction by doing CTL+Shift+ minus (-)
*Note: The Shift button is very important as Control + will increase zoom.
How to Rotate in “New” Adobe
In the updated Adobe, you can now use the shortcut buttons on the screen to rotate a document without being asked to upgrade to Acrobat Pro. It is located at the bottom right of the screen and looks like an arrow going in a circle. You can also still use the keyboard shortcuts for rotating.

Another way to rotate is using the menu. Go to Menu>View>Rotate View.
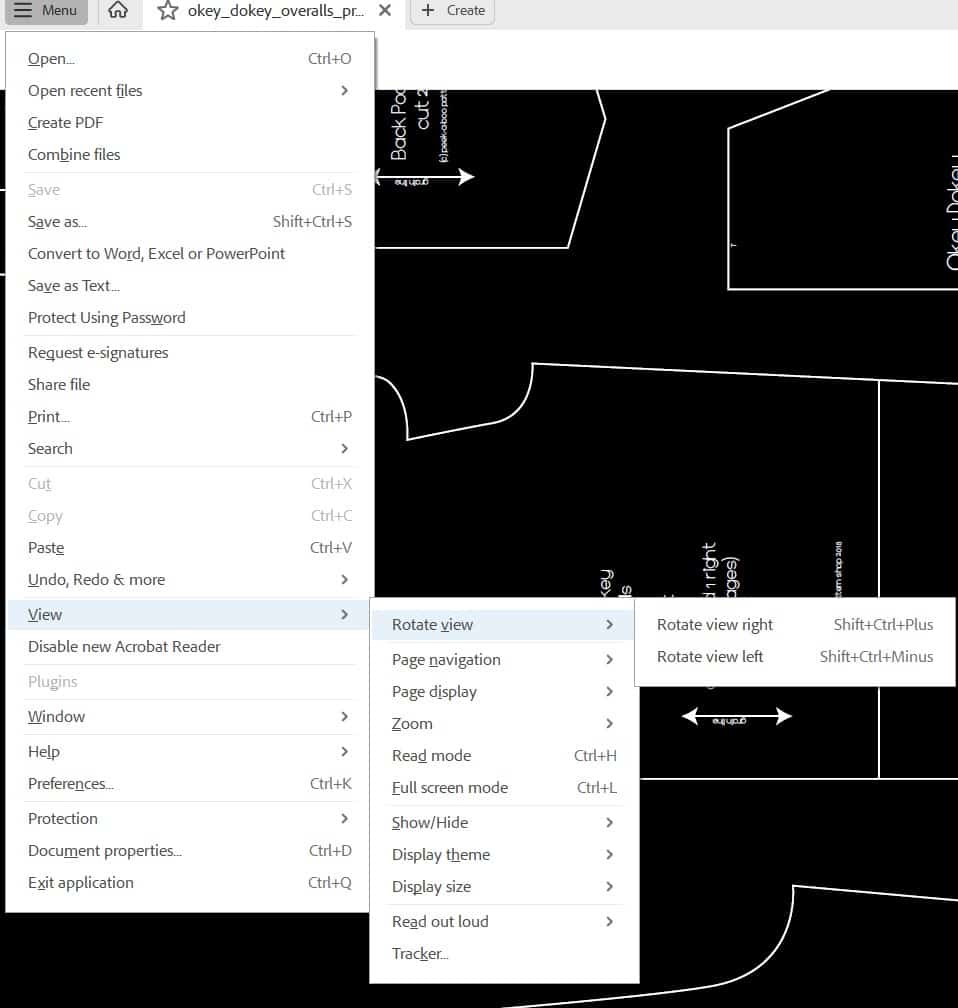
The shortcut for rotating is Control, Shift, +. Rotate the opposite direction by doing CTL+Shift+ minus (-).
Tip 6 Cutting Mirror Images
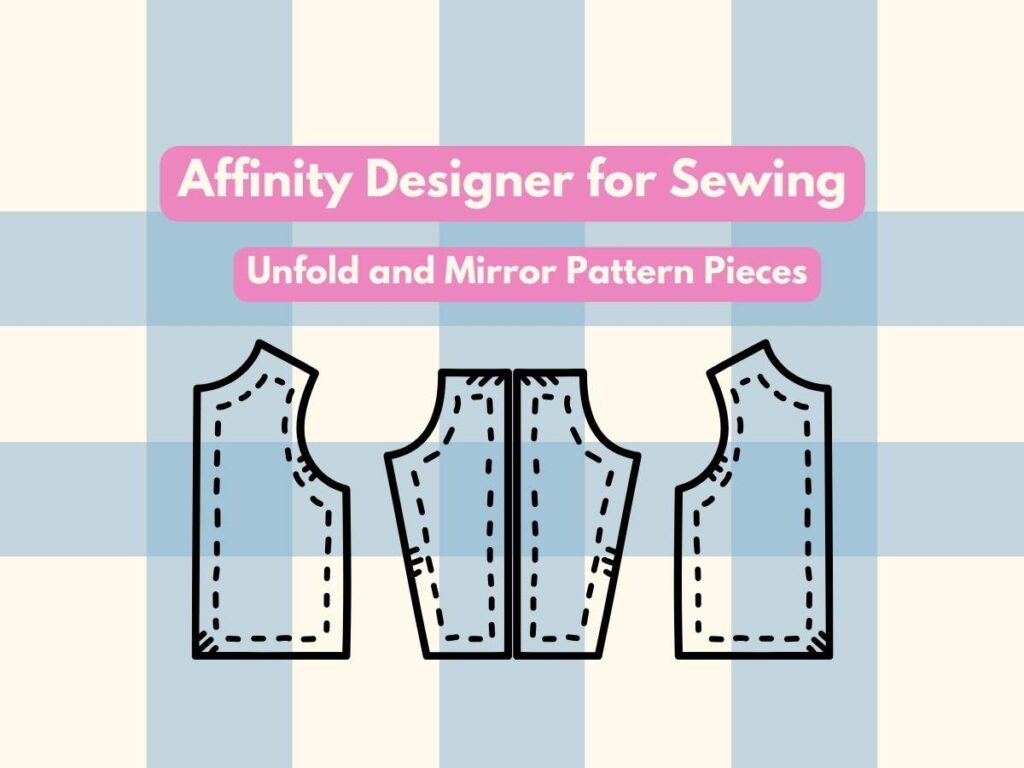
When pattern pieces call for cutting mirror images, you will need to adjust your thinking a little bit. You will not be flipping the pattern piece. Instead when you need to cut a mirror image of the pattern piece, cut one side with the fabric pattern side up and the mirrored image the fabric will be cut pattern side down.
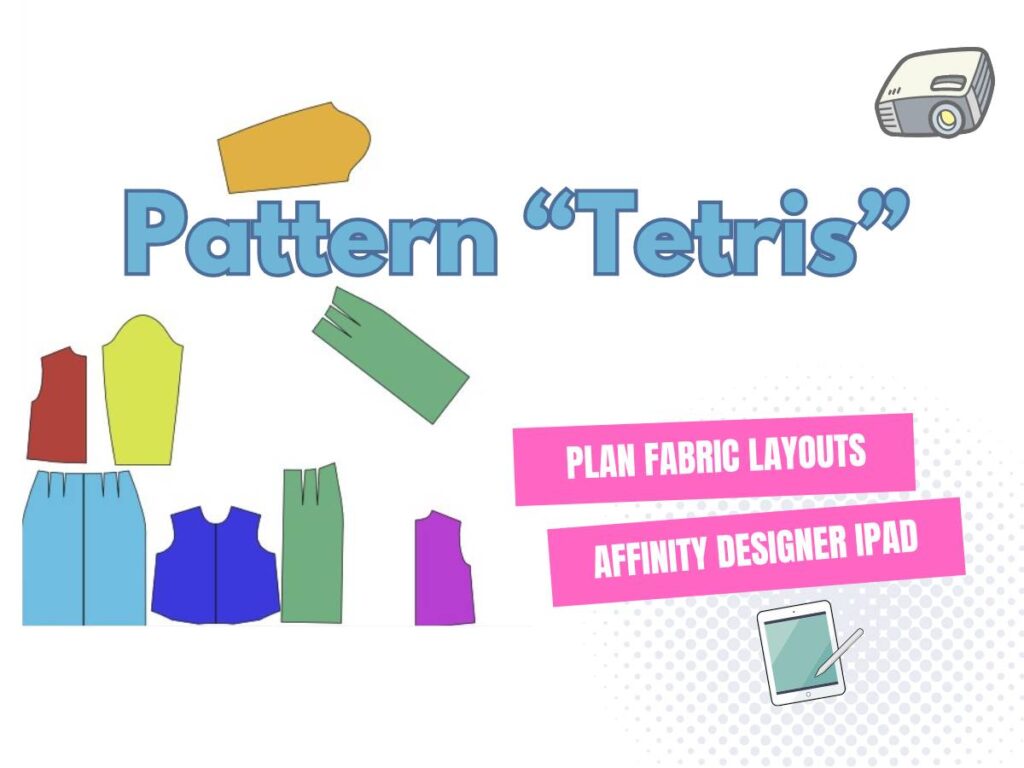
Some projectors have a “flip” projection mode that can also be used. Another option is do use Inkscape or Affinity Designer to create mirror images, unfold pattern pieces, and plan layouts.
Conclusion
Using Adobe on a computer to project patterns is the preferred method of many. These tips will help you use Adobe to get the best projected pattern possible. Did I forget something that you find useful? Leave a comment below with your tip!
If you’ve enjoyed these tips, please share them with a friend!


