Last updated on January 6th, 2023 at 09:05 pm
*This post may contain affiliate links and we may earn a small commission if you click on them.
Planning pattern pieces on your fabric
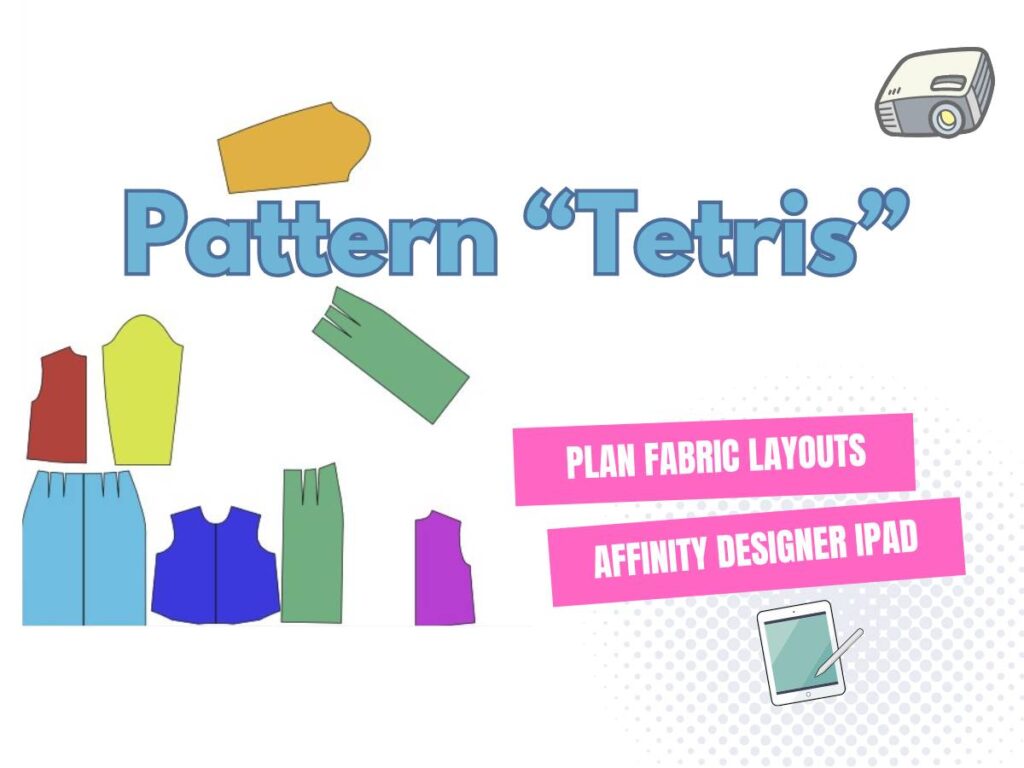
Do you love using every last bit of that beautiful fabric you bought and having no waste? Then, pattern Tetris is for you!
What is pattern Tetris? Pattern Tetris simply means to lay out the pattern pieces so they fit closely together on your material. In essence, playing “Tetris” with pattern pieces.
You may have arranged paper pattern pieces, but are at a loss to how to do it digitally. Some people will trace the patterns on their material with tailor’s chalk. However, there is a way to digitally preserve your pattern Tetris to use over and over again!
While there are a few programs that you can accomplish this with, today I will be using Inkscape.
Inkscape is a completely FREE program! It can be downloaded on Windows, Mac, and Linux. When downloading in Windows, you will need to know if you have a 64-bit or 32-bit system. You can find this by going to Settings>About>System Type. Download and install Inkscape using the onscreen directions.

To get the most out of today’s tutorial, I suggest a few “prerequisites”. First, I recommend at least a basic understanding of PDF Stitcher: Everything You Need To Know. Next, if you don’t know how to unfold patterns in Inkscape, make sure to read through the tutorial Inkscape: How to Unfold.
Prerequisites: PDF Stitcher and Inkscape: How to Unfold
Objective: How to lay pattern pieces out in “Pattern Tetris” in Inkscape
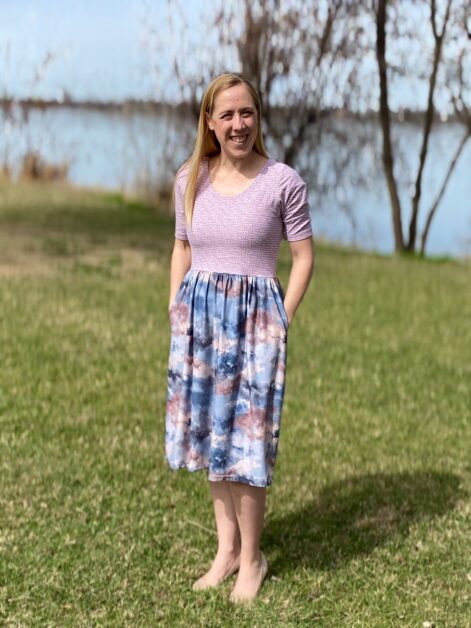
The pattern that I will be using is the Edenbrooke dress from Peek-a-boo pattern shop. I originally got into the Peek-a-boo patterns for their great baby onesies and outfits. But I love their patterns for adults too. The Endenbrooke is one of their older patterns and the projector file was converted from the original A0 file, but still works great. You may want to thicken the pattern lines in PDF Stitcher.
I used the button-down version of the Edenbrooke when I was a nursing mother, then later I sewed up just the simple version. It is such a quick and easy sew and soooo comfy! It has so many options that you can create several different versions of this dress with just one pattern! Check it out if you are looking for an easy-to-sew comfy and versatile dress pattern.
Pattern Tetris can be done with any digital pattern. You can open the pattern right in Inkscape and edit from there, but I prefer to start in PDF Stitcher!
Step 1: Prepare the Pattern File in PDF Stitcher
The first step to doing a pattern layout for pattern Tetris in Inkscape is to prepare the pattern file in PDF Stitcher. I like to select the size(s) that I will need, thicken lines, and add margins if needed.
Now, you can do these things in Inkscape. However, I find it a lot quicker to just run through PDF Stitcher! If you haven’t tried PDF Stitcher or need a refresher, then check out my tutorial on PDF Stitcher.
In the first tab of PDF Stitcher, open your pattern and create a new “save output as” file. Make sure you remember where you are saving it so you can locate it later! The first tab is also where you can quickly add more margins to the pattern if needed. We will be adjusting the canvas size in Inkscape, so you can skip this step if you want. Typically, I add about 20 inches to the margins when I do, but it really the amount is up to you! Make sure “Process layers” and “Tile Pages” is checked if you add margins.
Next, go to the layers tab (unless you are working with a pattern that needs to be “stitched” together). In the layers tab select the size(s) that you want to layout on your fabric for pattern Tetris. Make sure to keep any layers that say keep selected or print for all layers. You can delete any grid layers.
This is the tab that you will change the line thickness, style, and/or color. If you don’t like it later, you can also adjust this in Inkscape, but it is easy to do now!
Generate the PDF and you are ready to open it in Inkscape!
Step 2: Open Pattern in Inkscape
Open Inkscape and choose “New Document”. To bring in the pattern you can either “Import” or “Open”. When I’m first opening a pattern that I added margins to, I also use the File> Open. When you do this, it will set your canvas size. Canvas size can always be changed in the Document Properties tab usually found on the right-hand side of the screen or by going File>Document Properties.
Tip: You can bring in multiple different patterns for pattern Tetris! I was planning on making matching Easter outfits for my kids, so I opened a dress pattern and imported a vest pattern too!
To add a pattern to the existing document, you will choose File>Import. It will import that added pattern onto the existing canvas.
Step 3: Unfold, Mirror, Duplicate
Before laying out all your pattern pieces on your digital “fabric” for pattern Tetris, you will want to unfold and mirror pieces. You can also decide if you want a single layer of fabric or if you want to fold the fabric at all.
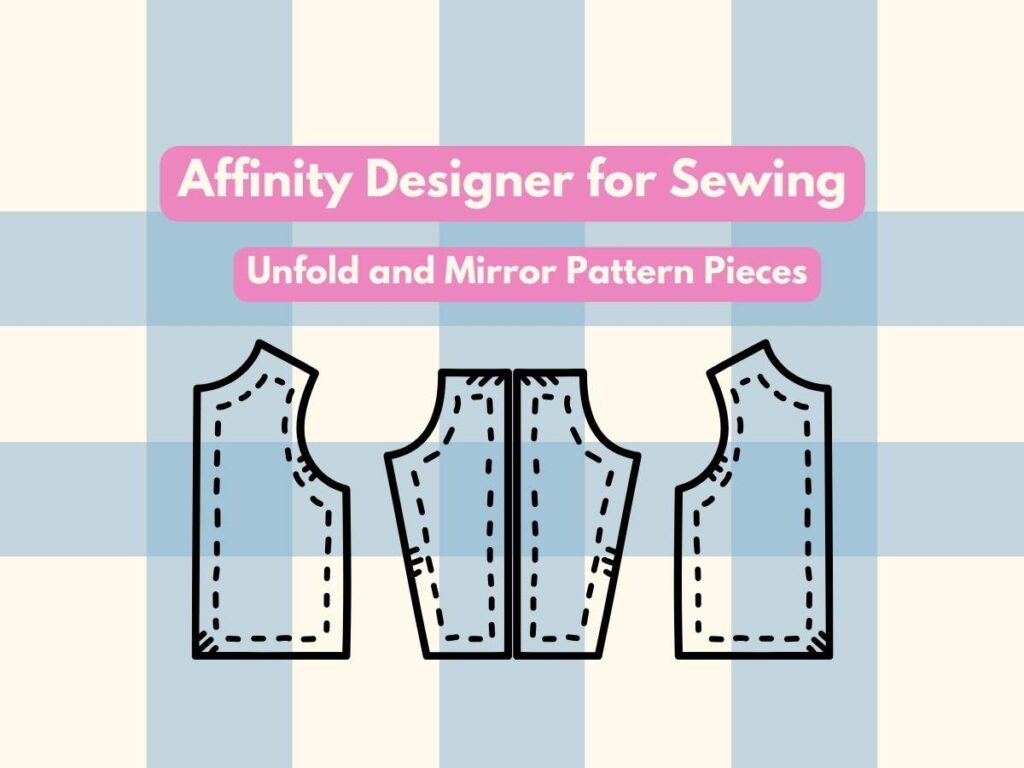
Unfolding and mirror instructions are covered in detail in the article Inkscape: How to Unfold. To review, group and ungroup the pattern pieces as needed. Then duplicate (CTRL + D) and flip either horizontally (H) or vertically (V). If it is a cut on fold piece, then make sure to line up the pattern pieces overlapping the fold line into a single line. If you are mirroring or just creating a duplicate piece, do not have the pattern pieces touching.
Along with this step create the same number of pattern pieces that need to be cut out. If it says “cut 2” then duplicate the pattern piece so you have two pieces. When finished with this step, you should have the same number of digital pattern pieces that you plan to cut out on your material.
Use CTRL + Z to undo your last action any time you need!
Step 4: Draw a Fabric Rectangle for Pattern Tetris
The next step is to digitally prepare your “fabric”. You will need to know the width and length of the fabric that you have. If you haven’t bought fabric yet, it is best if you at least know the width of the fabric you will be working with. Fabric on the bold can vary from 35-108 inches with the average being between 40”-60”. Many patterns will suggest a type of fabric and a typical width of fabric (WOF).
However, I suggest you know at least the width of the fabric before completing pattern Tetris in Inkscape. If you buy enough fabric based on suggestions from the pattern, you will have more than enough! Often using pattern Tetris, you can fit your project onto much less fabric than suggested.
To draw a rectangle, you will select the rectangle tool on the left menu tab. It is a picture of a rectangle. Make sure you choose the rectangle and NOT the cube.
Begin by drawing a rectangle by clicking and dragging your mouse. The size really doesn’t matter because we will be typing in the exact height and width of the rectangle. Once you have drawn a rectangle you will see at the top “change” with a “W” and “H” box. The numbers next to these boxes are the width and height of your rectangle. Type in the width of the fabric (do not include any selvage amount). In the example below I made by rectangle 58” by 1 yard or 36”.
Save your work as an editable .svg file.
*Make sure your units are in inches or cm, whichever you prefer!

Step 5: Puzzle Piece Pattern Tetris
Now comes the fun part where you can puzzle piece your pattern together on your fabric! Remember to keep all grainlines lined up with the grainline of the fabric (usually parallel to the selvage of the fabric). If you are not using directional fabric, you can rotate pieces around. To rotate a piece, use the arrow buttons on the top shortcut menu or for clockwise CTRL +] and counter-clockwise CTRL + [.
Piece all of the pattern pieces on the fabric. If you have extra fabric when you are finished puzzle piecing, you can make the rectangle shorter as needed.
Make sure to continually save your work to your .svg file!
*In the video below I show pattern Tetris for the Skater Skirt version for Edenbrooke. But, I cut out the rectangle skirt. The final pattern Tetris with the rectangle skirt is also shown at the end of the video.
Video Example 1: Edenbrooke Pattern Tetris
Video Example 2: Multiple patterns on one fabric
Step 6: Group and Resize Canvas
Now click and drag your mouse to include the entire rectangle with your pattern pieces inside. Group them together by pressing CTRL + G or right-click > Group. You may need to do this several times until everything is grouped together.
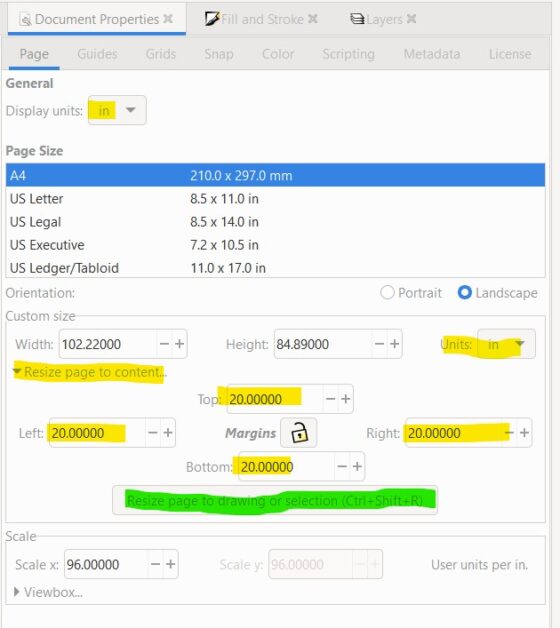
Select your “fabric” rectangle and open document properties on the right side of the screen (or File>Document Properties). We are going to resize the canvas to selection.
In Document Properties, double check that the units are in the units that you want. I use inches, but use centimeters if that is what you work with. Go to the middle and click on the arrow next to “Resize page to content”. Then, add a margin around your “fabric” rectangle for scrolling room. I added 20 inches on all sides. Remember Adobe doesn’t open files bigger than 200”x200”, so that is your limit.
Step 7: Save as PDF
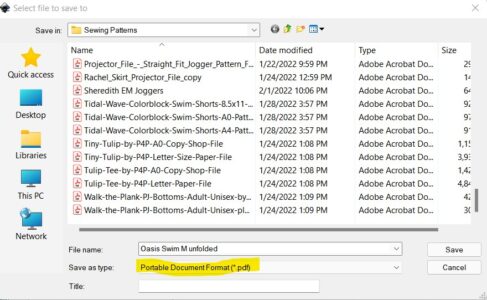
Your last step is to save your file as a PDF so it can be opened in Adobe and projected onto your fabric. Go to File>Save As. Under the “save as type” make sure to select PDF. Name the file anything you would like, but remember where you are saving it to!
Then, you are ready to exit Inkscape and open the document in Adobe for projector sewing!
Take Pattern Tetris a Step Further
Now that you know the basics, you can take pattern arranging a step further. You can draw two rectangles for coordinating fabric, import addition patterns, and write any specific notes.
Add Coordinating Fabric
Do you want to cut some of the pattern pieces on one piece of fabric and some on a different fabric? Then, just draw two separate rectangles to represent the different fabrics. You can use the typing tool on the left menu to write a description of the fabric or use “Fill and Stroke” to change the border or fill color of the rectangle.
Import Additional Patterns
Are you using the same material to cut out a few different sizes or different patterns? You can import additional patterns into your working document. Follow the same steps above in PDF stitcher to isolate the size you need and make any changes to the lines. Do not worry about adding margins. Generate your PDF.
Next, go to your open Inkscape document that you are working on. Click File>Import. Select the pattern you want to import and it will add it right to the document! Cool!
Group/Ungroup and duplicate and mirror as you need. Then, add it to your fabric panel for pattern Tetris!
Write Notes
Do you want to add cutting notes, or notes about the material? Then use the typing tool! This can be a description of the material. Or if you decided you were going to cut with folded fabric, make sure to make a note of that!
Cutting on the Fold or Mirrored pieces
Sometimes I still prefer to cut on the fold. Cutting on the fold often means less cutting. You can still plan out your cuts when cutting on the fold. There are several ways to do this, but this is the way I do it.
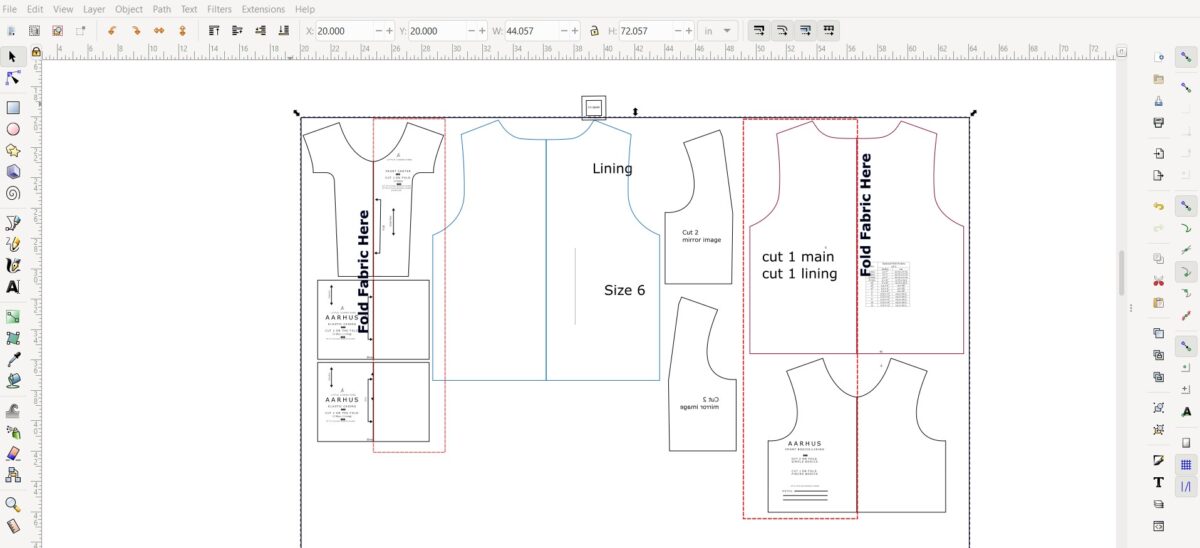
First, find the widest pattern piece that you will be cutting on the fold or two layers of fabric. This is how wide your “fold” must be. Create a new rectangle this width (length is only constrained by the amount of fabric you have and can be adjusted as needed).
Next, I align the new rectangle to the “fold” side of the fabric. Place the pattern pieces that you want to cut using folded fabric on this rectangle. Line up all the fold lines.
Repeat steps as needed.
Final Thoughts on Pattern Tetris
I hope you enjoyed this tutorial on Inkscape and that your head isn’t spinning too much! Inkscape can change the way you look at patterns and pattern projecting!
Today I showed you how to layout a pattern on fabric for cutting, also called “pattern Tetris”. This will help you to plan your cuts and frugally use all of that beautiful fabric in your fabric stash!
Grab a pattern and give it a try! If you find this tutorial helpful, please share with a friend! I look forward to “seeing” you again for our next lesson on Inkscape!

Inkscape Master Class
Are you ready to master Inkscape? Stop searching and start learning! This Logos By Nick Inkscape Master class comes highly recommended!
“This is what I used to learn Inkscape! Although it is not sewing specific, I found it so helpful for getting started!” -Sheredith
This course includes 50+ videos that walk you through the tools and how to use it to do just what you want.


