*This post may contain affiliate links and we may earn a small commission if you click on them.
Learn to make easy letter applique using your projector and open the world of creative applique!
Letter applique is a quick and easy way to add pizzazz to any sewing project! Learn how to get started doing applique with items you already have around the house!
This project is a great scrap buster!
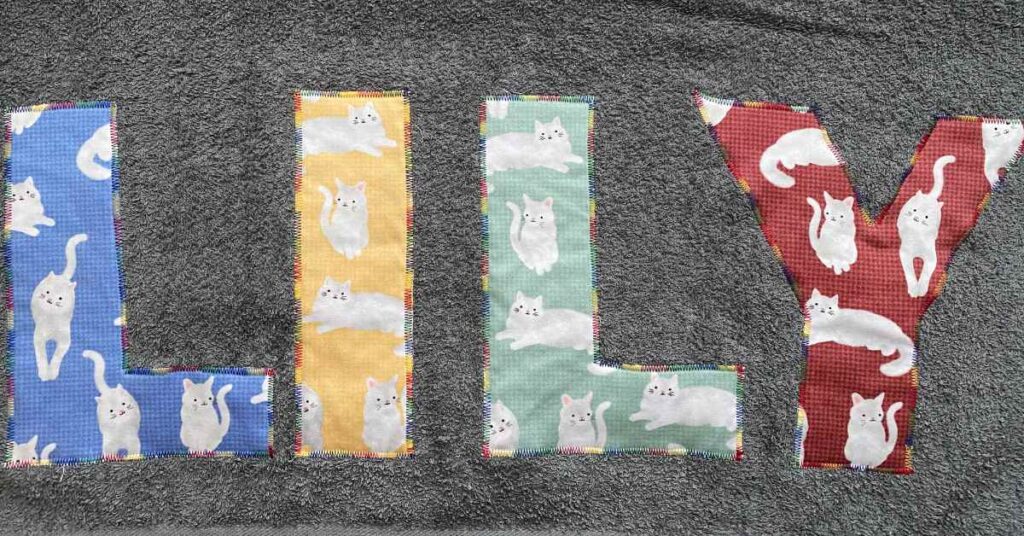
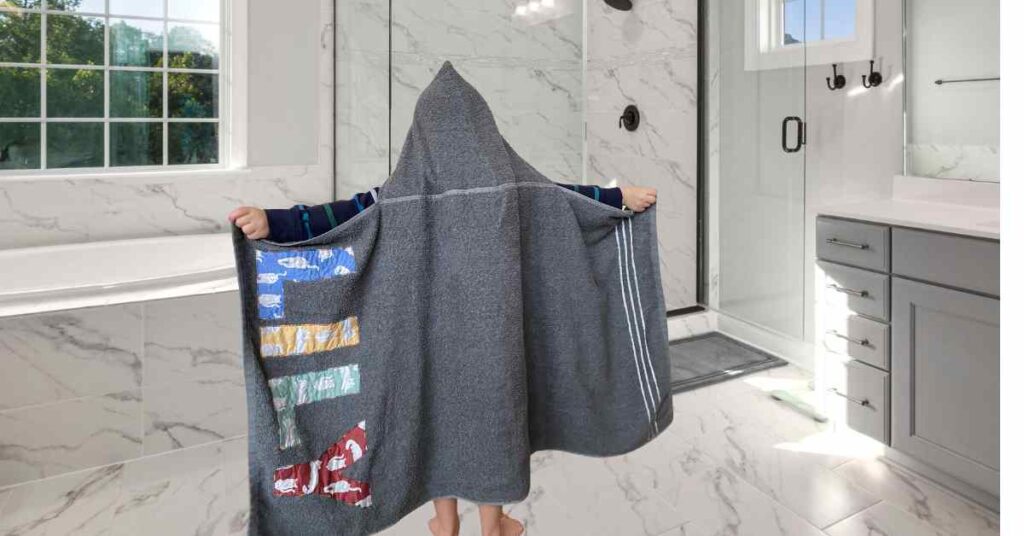
Today I will be putting some letter appliques on some hooded towels that I put together. You can also buy premade towels and just applique on them for a special gift!
Using a sewing projector makes this project super quick and easy, but you can also print or draw the letters you want to use!
I used some beautiful fabric samples from Brittany Lane Designs for this project. I just love how they turned out. My kids are excited about them too!
Materials:
- Heat N Bond lite, Spray N Bond, or glue stick
- Fabric scraps
- Matching thread
- Sewing Machine
Last update on 2024-05-09 / Affiliate links / Images from Amazon Product Advertising API
Step 1: Find the font and letters you need
The first step is to pick a font that you want. It can be as simple as finding a font on your computer, searching the internet, or using a letter file such as this free alphabet pattern from Made for Mermaids.
I chose to use the alphabet pattern from Made for Mermaids. You can type letters in Inkscape or Affinity Designer.
While you are in Inkscape or Affinity Designer, you can use the tools to create just the look you are going for.
Another option is to just free-hand draw letters. That is not my strong suit, but if you are good at lettering, you can sketch out the letters that you want!
Step 2: Size the Letters
Once you have the letters you want, open them in Adobe or another program that will allow you to zoom in.
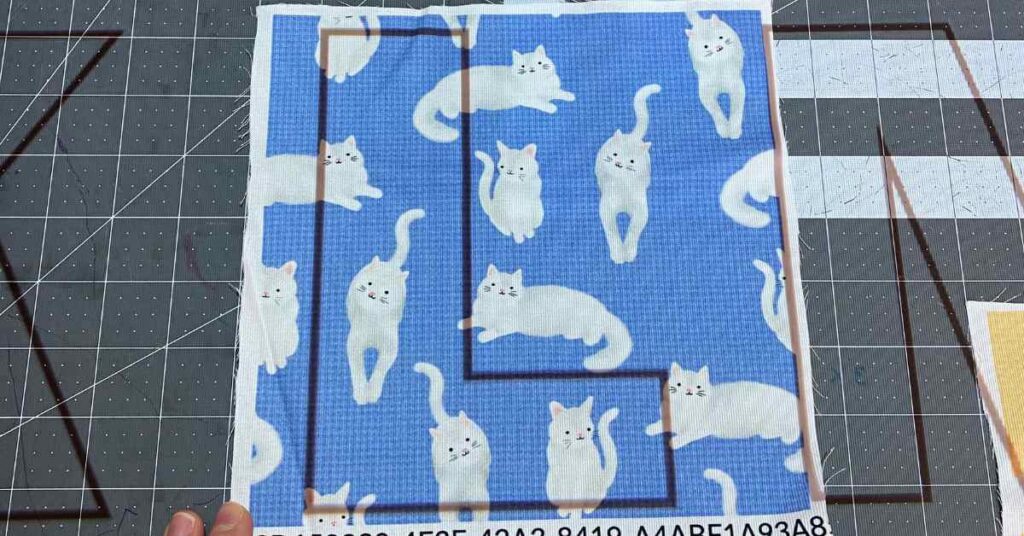
Place the T-shirt or project down on your cutting surface and project the letter onto it. Zoom until the letter is the size that you want.
I had scraps of fabric that I wanted to use. I zoomed in until the letter took up my entire scrap piece.
Step 3: Trace letters onto Heat N Bond
I used my projector to cut the letters out of my fabric. If you like to sew and haven’t started using a projector for your patterns, I highly recommend it! It makes a spur-of-the-moment inspiration become a quick reality!
If you plan to use Heat N Bond, you will trace a mirror image of your letters onto the paper side of the Heat N Bond.
You can mirror the image in Inkscape or Affinity Designer.
You can also mirror the image on your projector by changing the “Projection” from “front ceiling” to “rear ceiling” or vice versa.
Don’t have a projector yet? No problem! Print out your letters and put them facedown on the Heat N Bond to trace.
Another option is to attach Heat N Bond to your fabric scraps first and trace the letters without mirroring the image.
Place the fabric right-side up and project the letters onto the fabric. Trace and cut or cut directly from the projection!
Using Spray N Bond or Glue stick
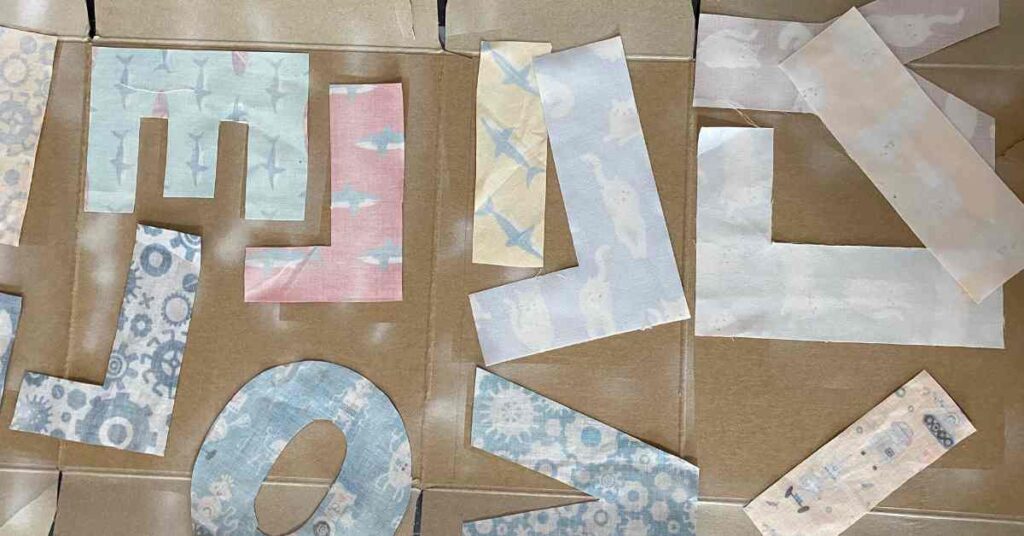
If you are using spray N Bond or a glue stick, you don’t need to worry about mirroring your image. You trace and cut your letters directly out of your fabric right-side up!
Whichever method you use, make sure your letters will be right side up!
Step 4: Glue Letter Applique to Project
Now it’s time to attach the letter applique to your project.
If you are using Heat N Bond Lite, follow the directions on the package to attach the fabric to the Heat N Bond. Then place the letters on your project following the directions on the package.
If you are using Spray N Bond, follow the directions to spray the adhesive on the back side of the fabric. The key is to have patience and let the adhesive completely dry before attaching the letters to your project!
A glue stick is also a way to temporarily hold the letters onto the project while you sew. Use the glue stick, just as you would if you were gluing a paper project. The glue will come out in the wash.
For this project, I used the Spray N Bond, but I have used Heat N Bond Lite on other projects. The Heat N Bond will give an interfacing-like stiffness while you sew and may be the easier of the two to work with when sewing. However, any of these methods will work just fine!
Step 5: Sew the Letter Applique
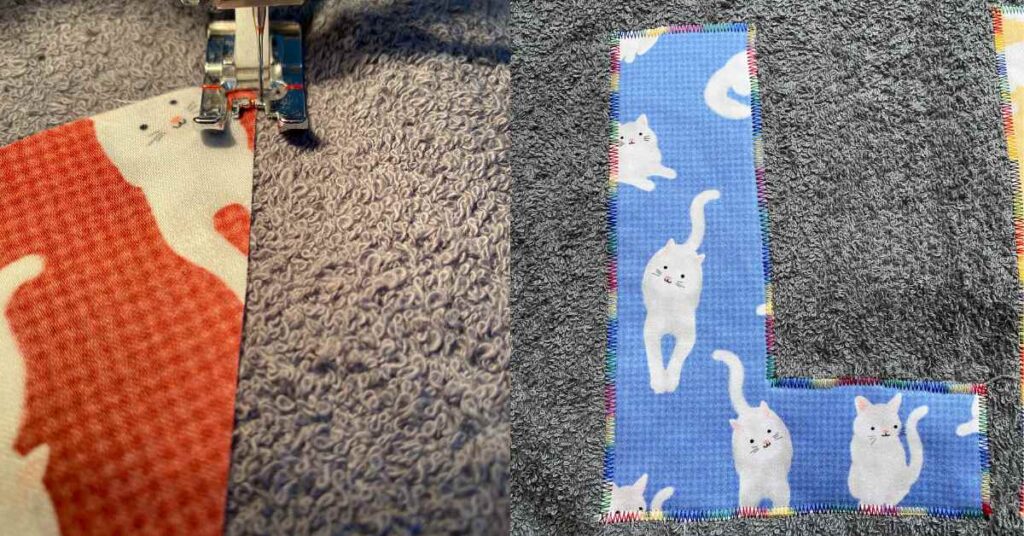
Now it is time to sew the letter applique to the final product! You can use matching thread or a decorative thread.
I decided to go with this fun rainbow thread that I had lying around. I love the look it gave to this project!
- ★ 12 SPOOLS PER KIT – 12 spools Top-Sell…
- ★ PERFECT WEIGHT & LENGTH – Each spool is…
- ★ EXCELLENT TENSILE STRENGTH – Lower risks…
- ★ SUPER COLOR FASTNESS – Polyester…
Last update on 2024-05-09 / Affiliate links / Images from Amazon Product Advertising API
I recommend using a zig-zag stitch when applying woven material. If you are using knits, you can just use a straight stitch, depending on the look you are going for.
Go slow and take your time! Play with different stitch widths and lengths to get the look you want.
Repeat for all letters and trim threads.
Step 6: Admire Your Work!
Step back and admire your freshly applied letter applique using your projector!
Sewing applique is easy when you use a projector! The possibilities are endless! I can’t wait to see what you create!
