*This post may contain affiliate links and we may earn a small commission if you click on them.
Have you made changes to a sewing pattern or drafted a sewing pattern and are now ready to export as a PDF? Then, you are in the right place to learn how to export your work as a PDF!
PDFs are a universal format that is used by several programs include Adobe Acrobat Reader, Pattern Projector, Project & Cut, and the Ditto app.
Check out this video for a visual walk through of exporting PDFs in Inkscape:
Checklist Before Exporting PDF Patterns
If you are exporting your single-page PDF sewing pattern for projecting, then make sure to check the following things before export!
- Line thickness is between 3-6pt
- Pattern lines are solid
- Pattern lines are in a dark color (Black is my preference!)
- All pattern pieces are annotated with instructions (Cut one, Cut two, Mirror images, etc.)
- Include a calibration check square if a pattern doesn’t already have one
- Save only the size(s) you will need
- Page should not be over 200”x200”. If so, divide into 2 separate pages!
Since you will be projecting your sewing pattern, the lines need to be clear and visible. Increasing the text annotations on the pattern will also help you to see the instructions while you are cutting.
The calibration square is necessary to check that you are projecting the pattern at the correct scale.
Inkscape 1.3 does not export layers that can be turned on and off in a single document. Therefore, you should only export the layers or sizes that you will need.
Many PDF readers will scale down documents that are larger than 200”x200”. To reduce scaling errors, please ensure that your document is less that 200” (508cm).
Export as a PDF
Now that you’ve checked that your projector file is ready to export you are ready to proceed!
Step 1: File>Export
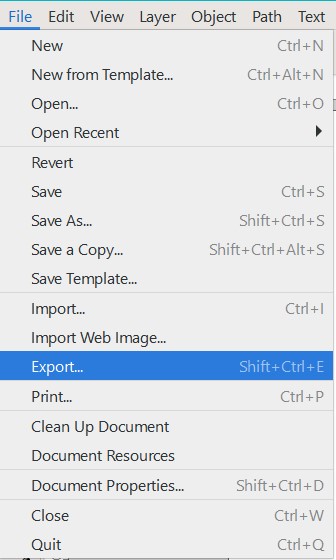
Go to the top main menu and go to “Export”. A dialogue window will open on the left of the screen.
*Another option is to go to file>Save as and change the file format to PDF.
Step 2: Choose Single-File or Batch Export
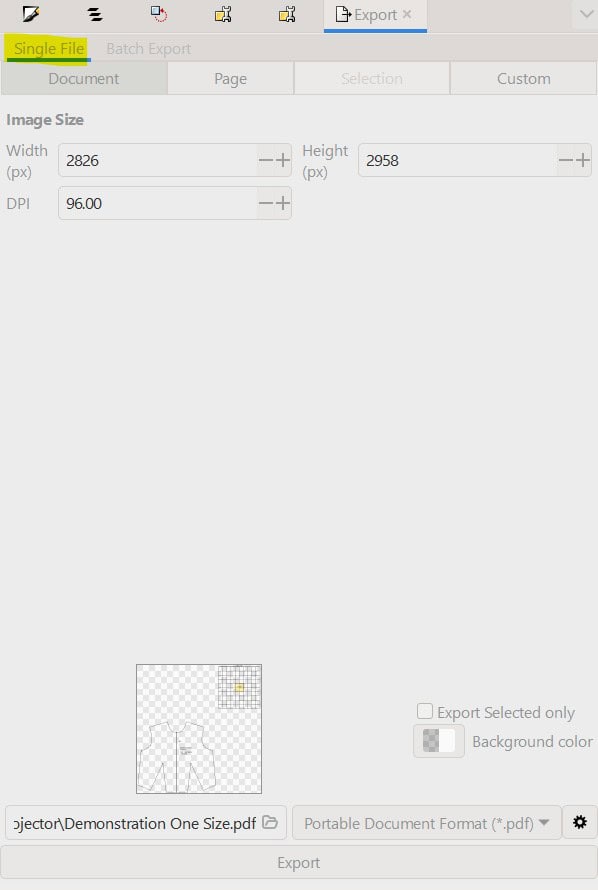
At the top of the export window you can choose either single-file or batch export. For a single-page PDF pattern, you will want to choose Single-File.
Step 3: Choose “Page”
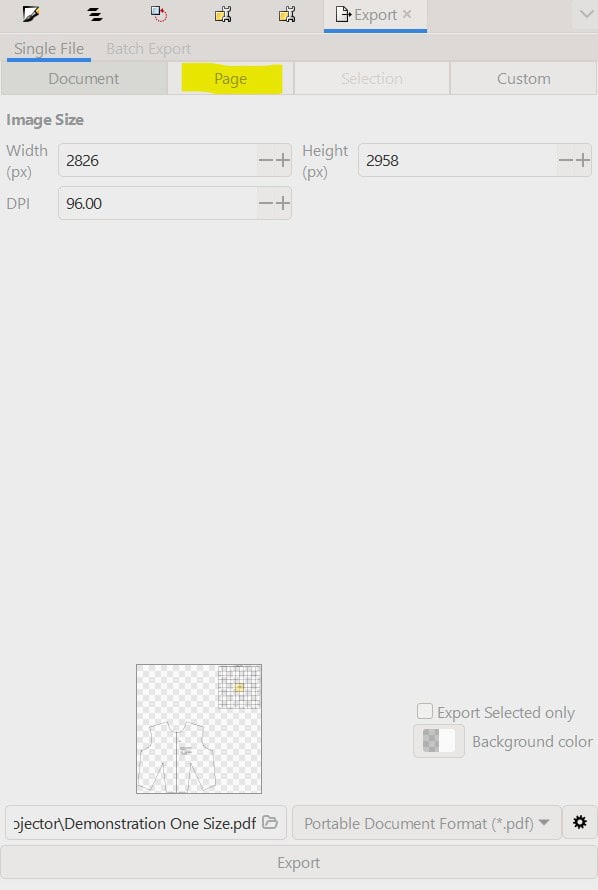
The next option for export is document, page, selection, or custom. Because you want the margins included in your export, choose “Page”.
Step 4: File Location
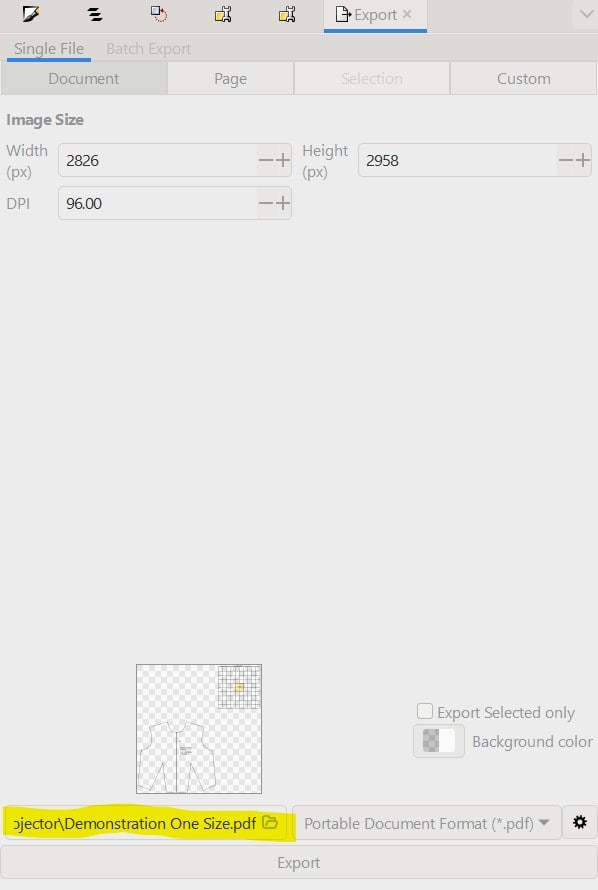
Now you will choose the file location by clicking the folder on the bottom left of the window. Choose where you’d like to save your PDF pattern.
Step 5: PDF
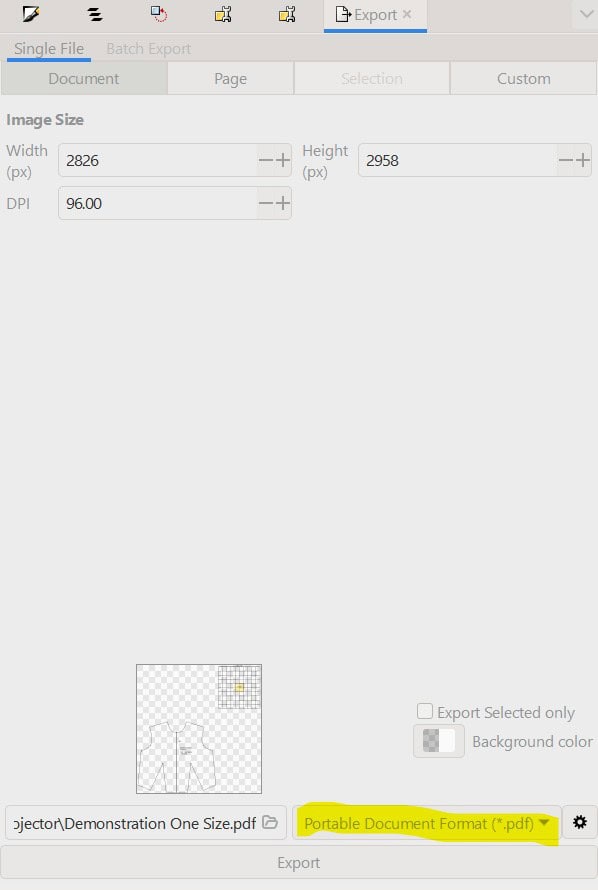
Next, choose “PDF” from the export file options. There is no need to change any of the other export settings.
This is also the place you can export the file as an SVG if you prefer.
Conclusion
Now you can export your single-page PDF projector file patterns in PDF! Use this to export patterns to be used in programs such as Adobe acrobat reader, Pattern Projector, Project & Cut, or the Ditto app!


