*This post may contain affiliate links and we may earn a small commission if you click on them.
Maintaining and cleaning your sewing projector will help you to get the most life possible out of it. While it may seem a hassle to add this to your “to do” list, it will save you in the long run.
Cleaning your projector regularly will help to give the projector proper air flow and help to give the bulb as much life as possible.
How Often Should I Clean My Sewing Projector?
How often you should clean your sewing projector really depends on the environment that it is working in. More dusty locations mean more frequent cleaning needed. I would recommend cleaning the sewing projector at least 3x per year. However, you may need more or less than this. Devices that are used in or near a kitchen may need more frequent cleaning to prevent buildup of grease and dust.
How to clean and maintain your projector
Follow the steps below to clean your ultra-short throw sewing projector. Cleaning frequently will help to prevent overheating due to blocked ventilation.
Step 1: Unplug the Projector and Allow to Cool
Before cleaning, always unplug the projector from the outlet and computer. Allow the projector to cool for at least 20 minutes if you have just been using it.
Step 2: Dust Outside
Using a dry, lint-free cloth, gently wipe the outside of the projector down. Do not use any cleaning agents or spray cleaner as these may damage the machine. You can use a slightly moist cloth and mild soap if needed.
- 【Absorbent Lint Free】 - Microfiber cloth...
- 【Reusable & Sturdy 】- Our cleaning rags...
- 【Unique Design】- Wave fish scale...
- 【All-Purpose Rag】- The microfiber...
Last update on 2024-05-13 / Affiliate links / Images from Amazon Product Advertising API
Step 3: Clean the Lens and Sensors
With lens-cleaning paper, gently wipe the lens taking care not to scratch it. Wiping the lens will remove any finger-prints or dust that may have collected.
- PACKAGE CONTENT - This eye glasses cleaner...
- STREAK-FREE FORMULA - Our eye glass cleaner...
- GENTLE & EFFECTIVE - Our eye glass lens...
- CONVENIENT - These sunglass cleaner wipes for...
Last update on 2024-05-13 / Affiliate links / Images from Amazon Product Advertising API
Step 4: Clean the Air Vents and Filters
Use a small vacuum with a brush attachment or a small paintbrush to clean the air vent covers. If you have a projector that you can remove the air vent, carefully do so to clean. Some projectors, including Epson ultra-short throws have air filters that need to be cleaned too.
- Wide variety of brushes, different bristles...
- The round handle brushes clean those finer...
- The flat handle brush is used for cleaning...
- Note: The yellow bristles brush and scraper...
Last update on 2024-05-13 / Affiliate links / Images from Amazon Product Advertising API
These air filters can be gently vacuumed with a brush attachment. If you find you need a replacement filter, these can be purchased too. It is time to purchase a replacement filter if you continually get the message to clean the filter, it is torn, or the dust can’t be removed.
To find a replacement filter, you will need to search in the projector manual for the part number. This is usually included where it talks about cleaning the projector. Then you can search the Epson site for a replacement filter.
*Mini projectors typically do not have vents that open and filters that can be replaced. Try to keep the vent as dust-free as possible.
- Device Supported:Projector /...
- PowerLite S11 Multimedia Projector
- PowerLite 1261W Multimedia Projector
- PowerLite EX3210 Multimedia Projector
Last update on 2024-05-13 / Affiliate links / Images from Amazon Product Advertising API
When to Replace a Bulb on an Epson Ultra-Short Throw Projector
If your lamp hours are running high, then it may be time to think about getting a replacement bulb. Sometimes a message will appear saying to replace the lamp or your image is darker and begins to deteriorate.
You can buy a replace bulb. Make sure to check your manual for the part number or read the item description to ensure it is compatible with your projector. If you search your projector on Projector Central, they will often list the part number as well!
A flashing orange light by the projector’s lamp means that it is time to replace the blub. Look at the picture below for other indicators.

*A flashing red light on the projector usually means that the projector is too hot. Check that the air filters are not blocked. Here are some of the other issues indicated.
Step 5: Plug Projector Back In
Now that your projector is clean, plug it back in. Since the projector probably moved during cleaning, a quick calibration check is in order.
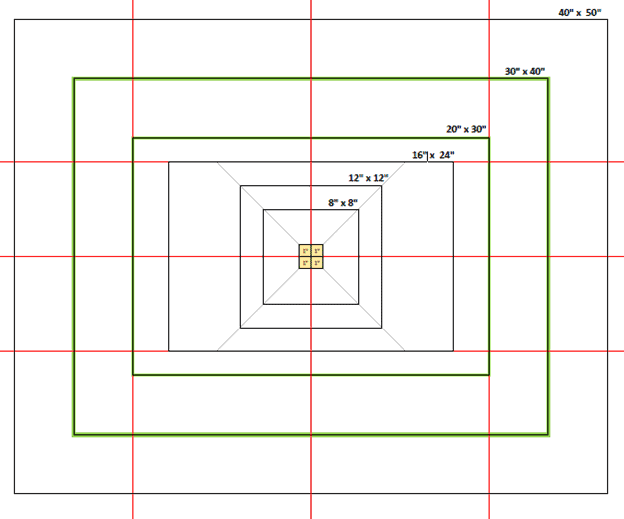
Need a refresher on how to calibrate? Read the steps on How to Calibrate an UST Projector or a Mini Projector.
Conclusion
Keep your sewing projector working in its optimal condition by regularly maintaining it! A well-maintained projector is a lasting projector.
When you properly maintain your sewing projector, it is sure to last for years to come without needing to be replaced! But, if it does ever need to be replaced, make sure to come back here and check out our projector recommendations!


Leave a Comment