Last updated on April 9th, 2025 at 09:57 pm
*This post may contain affiliate links and we may earn a small commission if you click on them.
Congratulations on wanting to learn more about projectors for sewing! Now, you may be wondering how to mount a projector for sewing. Good news! There are several ways to setup a projector for sewing. There is bound to be something that will work well for your sewing room!
Let’s review the three main types of projectors. Ultra-short-throw projectors cannot be mounted the same way mini or short-throw projectors can be mounted due to weight and size.
Mini projectors used for sewing will need to be mounted pointing straight down to your sewing table. To achieve this, they can be mounted from the wall, ceiling, or using a portable setup. You can check out top recommended projectors HERE.
Ultra-short throw projectors can rest on the cutting surface, a shelf, cart, or mounted to the table or wall. These are very large and heavy projectors which are typically bought secondhand for sewing. Remember, that UST projectors do have an “offset” sometimes up to 12″. Not sure what your projector’s offset is? Try looking it up on Projector Central. You will find our guide to choosing a UST projector HERE.
Short throw projectors are usually not mounted directly above the cutting surface. This is because they have an “offset” and need to be mounted from the side. The offset varies from projector to projector. What are some of the popular short-throw projectors? Read about the Best Short Throw Projectors.
Projector Mounts
Here are some of the most popular ways to mount mini and short-throw projectors for sewing. This section is divided into mounts that require holes and mounts without holes.
Mounts that Require Holes
The mounts listed here are great for a permanent setup. These setups mean you only need to calibrate your projector once, then you are good to go! But, that does mean screwing a mount into the wall or ceiling.
Custom Projector Sewing Mount
THE mount was designed specifically for sewing projectors. They are my absolute favorite way to mount almost any type of sewing projector. These mounts are stable and sturdy, which means you don’t need to worry about the projector shifting.
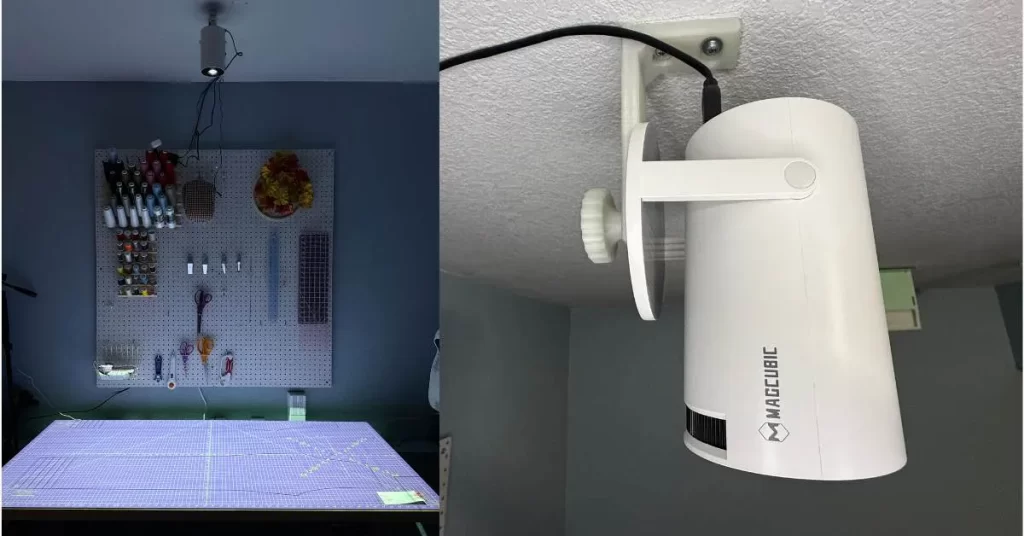
You can purchase them here on Projector Sewing.

Ball Joint Mount
There are many different brands of ball joint mounts for projectors. Most are made for projectors that hang from the ceiling and point at a wall. They have a metal bar that attaches to the ceiling and have a round ball joint that the projector attaches to at the other end.
You will see many people recommend the cheap ball joint mounts on Amazon, pictured below. They can work, especially for lighter projectors. However, I have found that they really aren’t that great for anything over 2 lbs. If you have a small mini projector that is less than 2 lbs. or pico projector, then this is the perfect solution for you! Just mount it on the ceiling over your cutting mat and calibrate your projector.
Make sure to unscrew the screws before trying to adjust the ball joint. The threads can be easily stripped if you adjust the projector on this mount while it is tightened.
| Preview | Product | Rating | Price | |
|---|---|---|---|---|
|
|
YiePhiot Mini Ceiling Wall Projector Mount… |
$7.99 |
Buy on Amazon |
Last update on 2025-04-19 / Affiliate links / Images from Amazon Product Advertising API
A better ball joint mount that I have found is the Nierbo mount. It costs a little bit more, but is more durable and stable. Since it holds the projector further from the mounting surface, this is a good choice if you are mounting the projector on the wall instead of the ceiling.
- Projector Mounts made of high quality…
- Projector Wall Mount Loading capacity 11 lbs…
- Swivel your projector 360 degrees to meet a…
- The projector ceiling mount includes all…
Last update on 2025-04-19 / Affiliate links / Images from Amazon Product Advertising API
Mounts that Don’t Require Holes
Some people live in rentals or just don’t want to put holes in their ceiling or wall. If this is you, don’t worry! You can still learn how to mount a projector for sewing! Here are a few ideas of how to mount a projector without putting holes.
Tension Rod
Using a tension rod and a clamp camera mount gives you similar results to being ceiling mounted, without drilling holes. The spring in the tension rods make it great for taking down and setting up again. This is not a good option for those will very high ceilings.
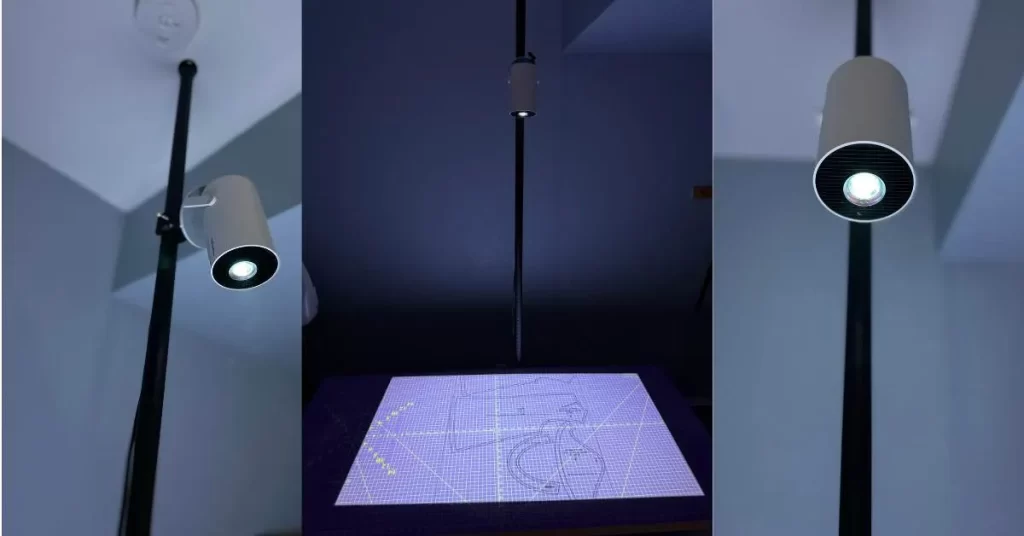
Mini projectors like the Yoton/Akiyo, are best when mounted directly above the cutting surface. Add an extender or the magic arm shown in the picture below. This will help your projection to be right above your sewing table. The Magcubic projector does not need an extender because the auto keyston correction and the angle of the projector are enough to create a level and squared image.
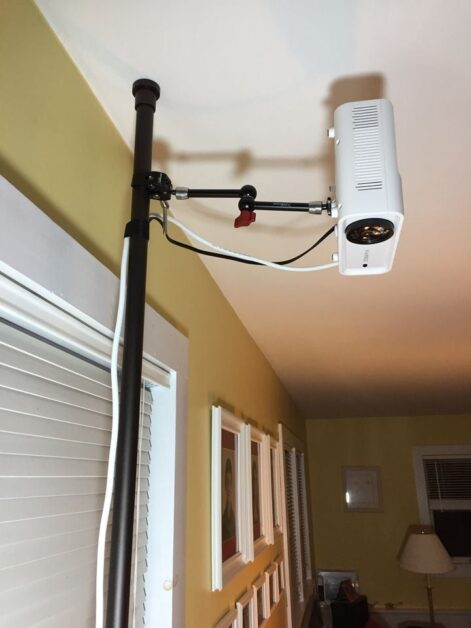
| Preview | Product | Rating | Price | |
|---|---|---|---|---|
|
|
SMALLRIG Clamp w/ 1/4″ and 3/8″ Thread and… |
$27.98 |
Buy on Amazon | |
|
|
ALZO 8-Inch Extender Rod for All Ceiling… |
$10.11 |
Buy on Amazon | |
|
|
Homease Tension Shower Curtain Rods… |
$31.99
$25.59 |
Buy on Amazon | |
|
|
ULANZI R099 Super Clamp Camera Mount – Heavy… |
$22.95
$19.95 |
Buy on Amazon |
Last update on 2025-04-19 / Affiliate links / Images from Amazon Product Advertising API
Tripods and Boom Mic Stands
Next, many projection sewists have found a tripod works well for them. An added bonus is that a tripod is portable. So, it is easy to take down if you don’t have a permanent sewing room. When figuring if a tripod will work for you, don’t forget to factor in the tripod leg space. Most find that a tripod will not fit on top of the sewing table and still have room to cut out a pattern.
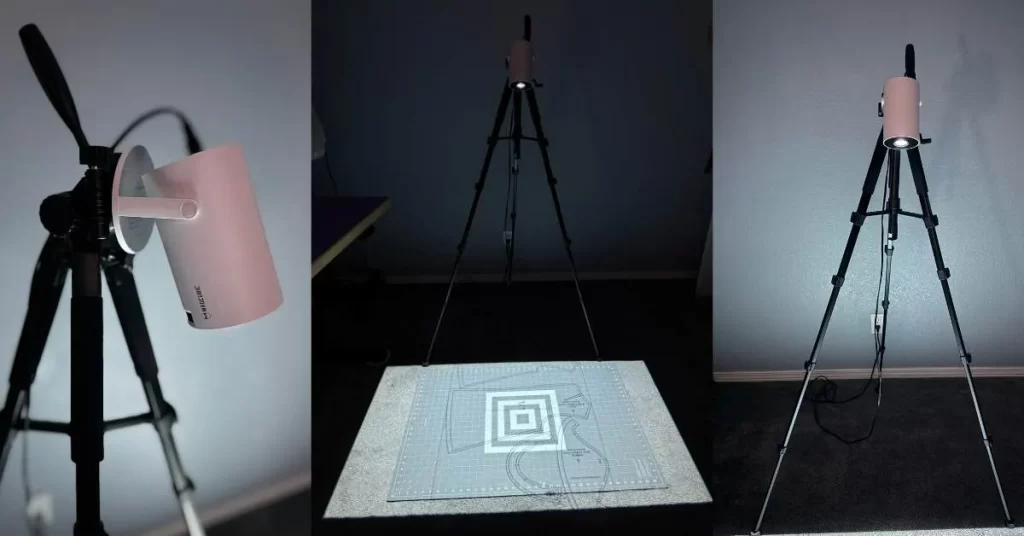
Mini projectors like the Yoton/Akiyo should use a boom arm stand or extension arm added to the tripod. The Magcubic and AAXA SLC450 do not need to be extended over the cutting surface.
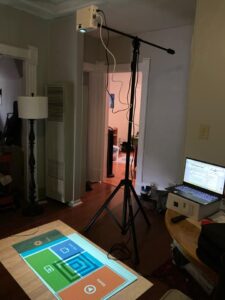
Tripods come in all kinds of sizes. Choose a nice tall tripod at 70+ inches. This should give you a large projection area!
| Preview | Product | Rating | Price | |
|---|---|---|---|---|
|
|
GEEKOTO 77’’ Tripod, Camera Tripod for… |
$89.96
$69.99 |
Buy on Amazon | |
|
|
VICTIV 74” Camera Tripod, Tripod for Camera… |
$36.99 |
Buy on Amazon | |
|
|
CAMBOFOTO 74″-Camera-Tripod, Gray… |
$36.99 |
Buy on Amazon |
Last update on 2025-04-19 / Affiliate links / Images from Amazon Product Advertising API
How to Mount Ultra Short Throws
Ultra short throws are often not “mounted”, but placed on a shelf or dresser near the cutting table. However, there are many ways to mount an ultra short throw projector.
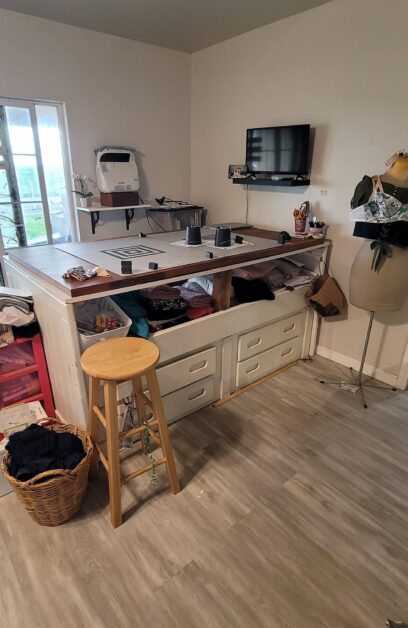
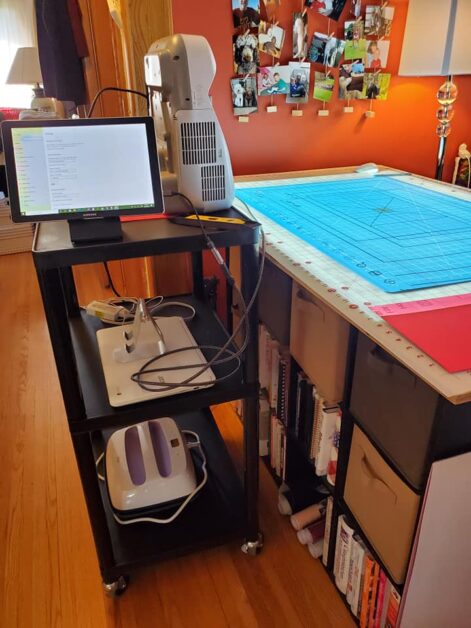
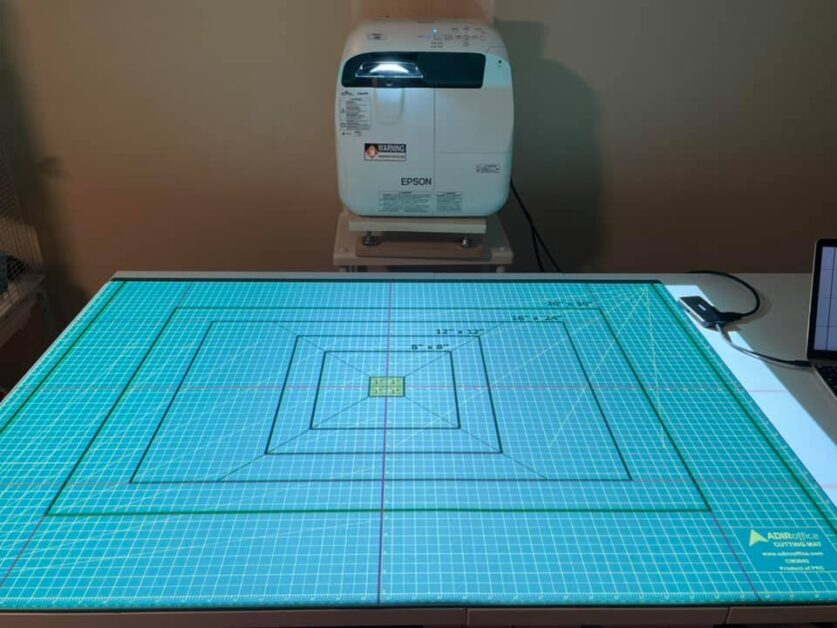
DIY Ultra-Short Throw Adjustable Stand
Many members of the sewing community have created an adjustable stand for their Epson Ultra-Short Throw (UST) projectors. Having an adjustable stand was really helpful during the manual calibration process, but isn’t as important now with the new calibration program. Since we orient the projector differently than designed to be used, these stands do not exist in the readymade market. However, members of the sewing community have created build plans for anyone wanting to build their own.
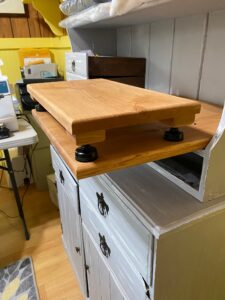
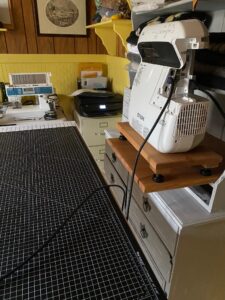
Some simple instructions that were given to me are:
“Any wood will work. I used cherry. The wood is 3/4″ thick. I glued and finish nailed small square blocks on the corners set in 3/8″ from the edges. I then rounded all the edges with a router. You could use sandpaper. I then drilled 3/8″ holes to accept the levelers. The holes should be plumb/at a right angle to the top. The threaded piece that holds the leveler foot pounds into the hole. I finished it with stain and wax.”
These are the adjustable feet they purchased:
| Preview | Product | Rating | Price | |
|---|---|---|---|---|
|
|
Pehciroe Adjustable Feet Levelers, Heavy Duty… |
$9.99 |
Buy on Amazon |
Last update on 2025-04-19 / Affiliate links / Images from Amazon Product Advertising API
For more detailed instructions, then check out these build plans for an adjustable shelf. These plans were specifically designed for the Epson 455Wi, but can be easily adapted.
UST Mounts to Buy
Do you need the projector off your cutting table? Then look into a few of these options for Ultra-Short throw projectors.
Clamp Mount
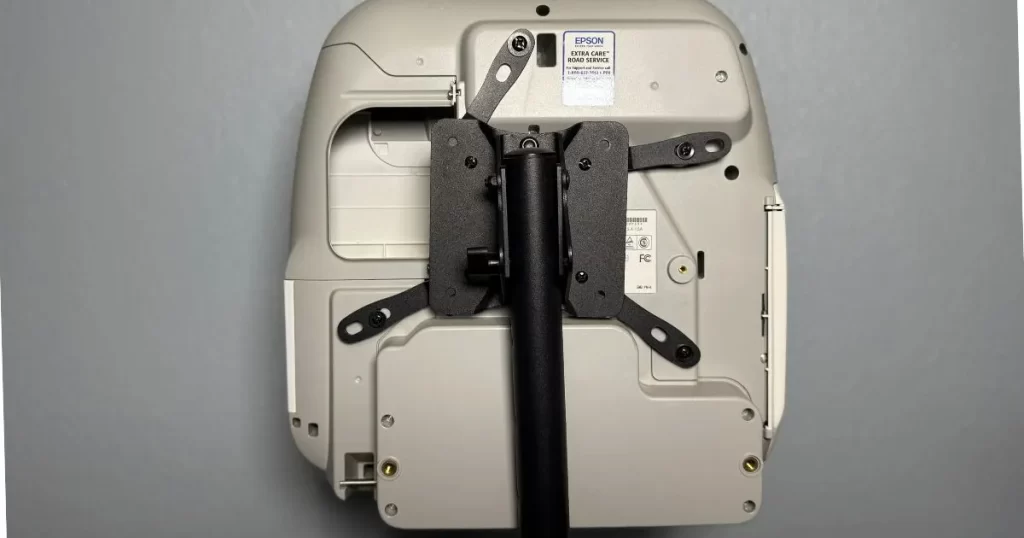
A clamp mount, like this monitor mount, can be attached to your cutting table. Since it is in a “fixed” position, even if you move the table, you do not need to re-calibrate the projector. This is great for use on rolling tables that come out for sewing, then are put away!
You will need to attach a piece of wood to the projector to match the mount holes or use the vesa adapters in addition to the Vivo mount.
| Preview | Product | Rating | Price | |
|---|---|---|---|---|
|
|
VIVO Single 13 to 32 inch Computer Monitor… | $39.99 | Buy on Amazon | |
|
|
PUTORSEN VESA Adapter Mount Bracket Kit for… |
$13.99 |
Buy on Amazon |
Last update on 2025-04-19 / Affiliate links / Images from Amazon Product Advertising API
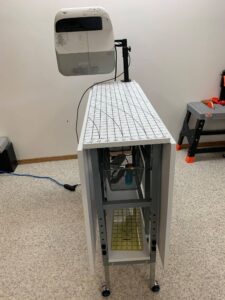
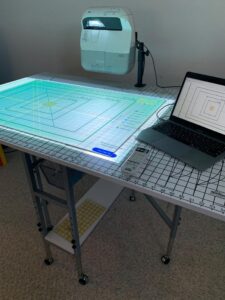
Monitor and TV Stand Mounts
Monitor stands and mounts for TVs and computer monitors can be adapted very well for our needs. Here are a couple of options people have used. I prefer the one with wheels so that I can roll the projector out when I want to use it, then roll it away when I am done.
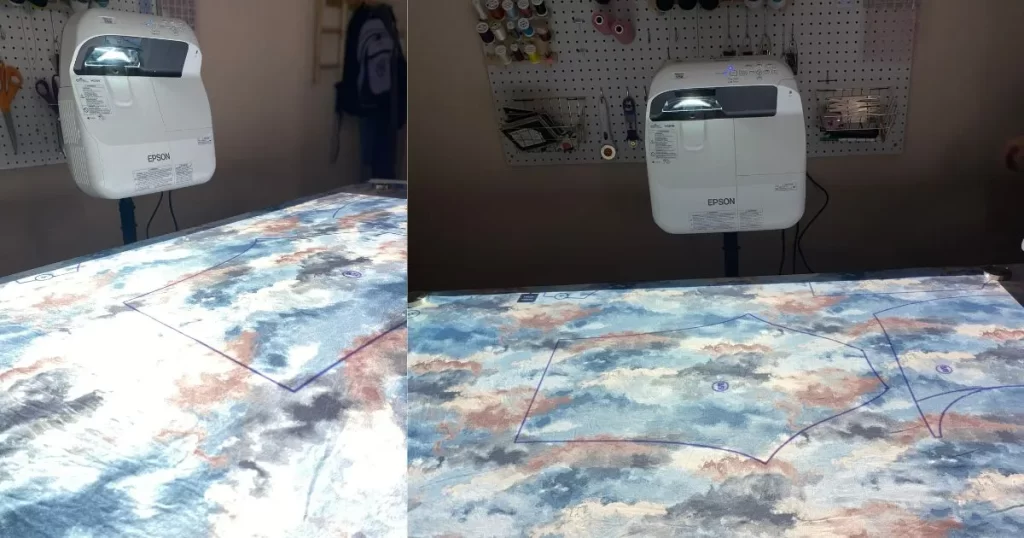
Last update on 2025-04-19 / Affiliate links / Images from Amazon Product Advertising API
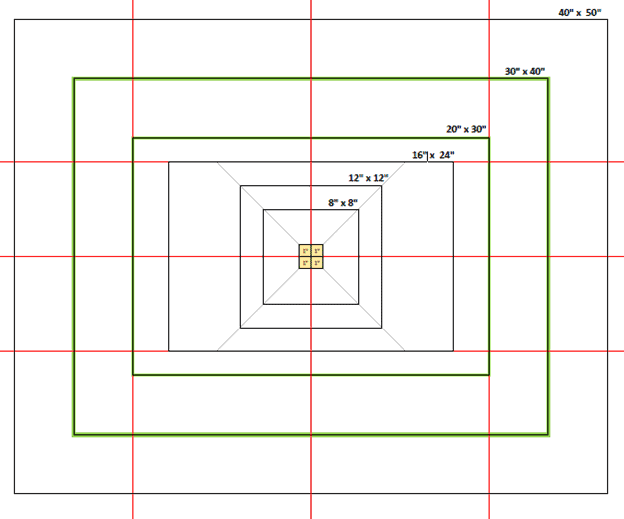
Use this image to help align the mount arms on your ultra-short-throw projector. Some of the models of ultra-short-throw projectors have different mount hole orientations, but this should get you started!
Conclusion
As you can see, there are many choices for how to mount a projector for sewing. For ceiling mounted projectors, the custom Projector Sewing mount is perfect! But, tension rods and tripods work well too!
Ultra short throws can be placed on the cutting table, a shelf, TV stand, clamp mount, or on a DIY adjustable shelf.
Overwhelmed? Don’t let all the choices prevent you from setting up your projector! Just choose one that you think is best! Try it out. If you don’t like the way you set it up, you can always make a change later! If you want a step-by-step guide on choosing a setup and getting started with your new projector, take a look at the Master Projector Sewing course.

